Chicken Saltimbocca

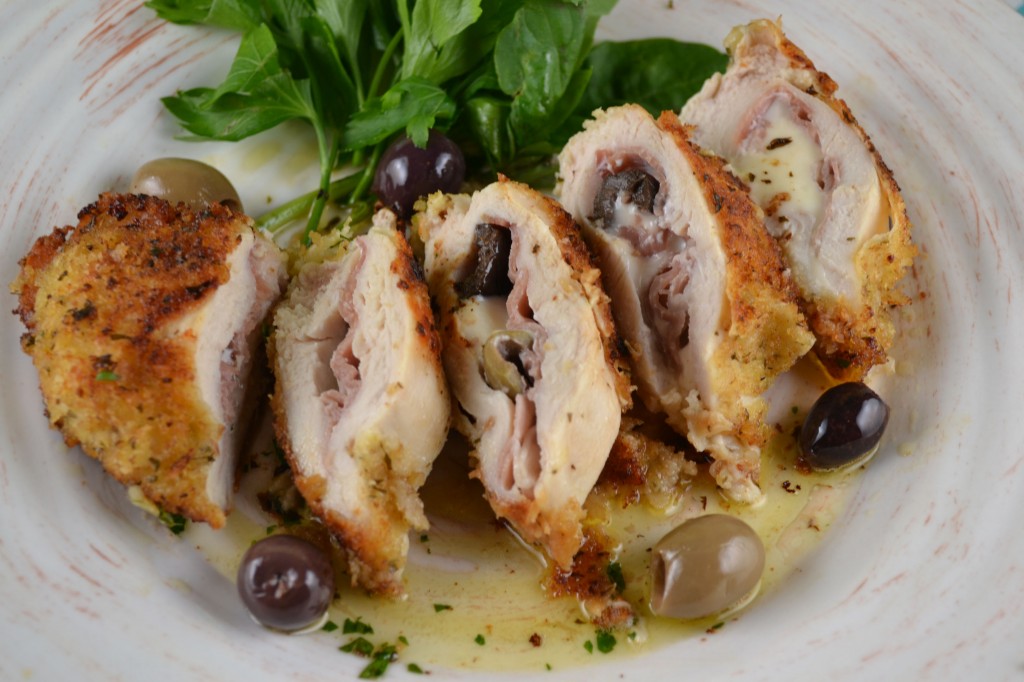
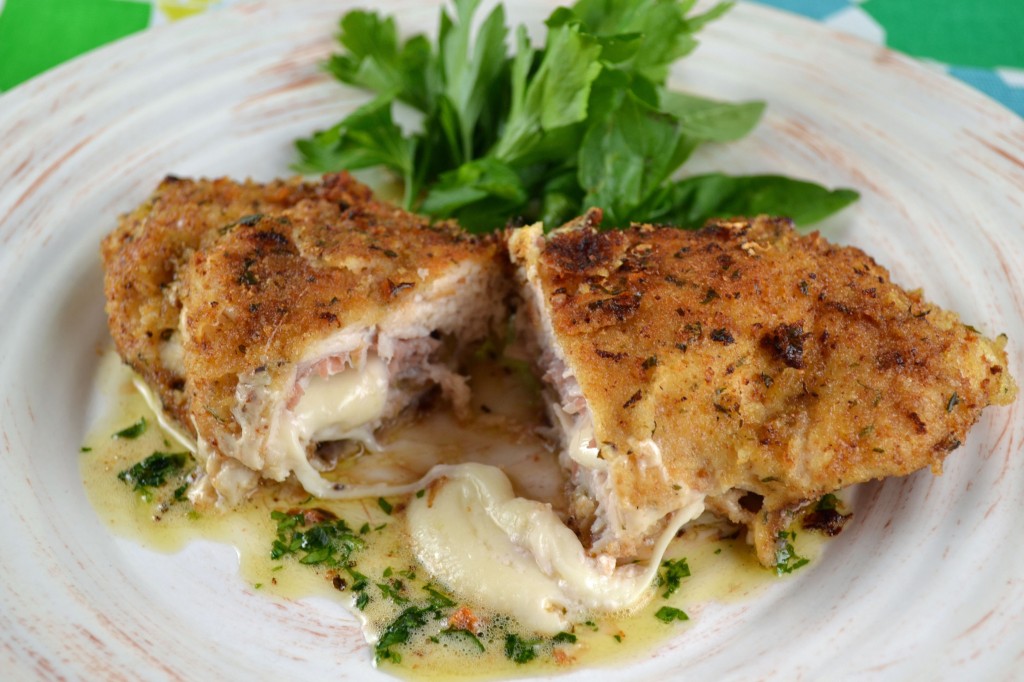
Saltimbocca has become somewhat of a classic. Originally Mediterranean, the name Saltimbocca is Italian for “jump in mouth” – a reference to the flavor explosion that takes place while eating this dish. There are varying ways to make saltimbocca. Veal, sage, capers, and sometimes provolone cheese are common ingredients. However, in each scenario the basics remain the same: the chicken or veal is sautéed and prosciutto is always involved (though I see no reason why you couldn’t use ham for a less expensive version). This recipe for Chicken Saltimbocca from “The Art of Good Cooking” happens to include black olives, which is somewhat rare but the beauty of this dish is its flexibility. Though I didn’t add it here, I think roasted red pepper could also make a nice addition to the center filling. The mozzarella is a natural match with the prosciutto and the crunchiness of the breading that soaks up some of the garlic butter is a combination that’s worth it alone – the other ingredients are just a bonus!

Note: the original recipe did not include toothpicks. I find that it’s easier to ensure the filling stays between the two cutlets by securing each package with a couple of toothpicks. Just make sure to take them out after cooking!

Chicken Saltimbocca

Ingredients

6 chicken breasts, boned, skinned, and cut in half (or 12 thin chicken cutlets)
6 thin slices of prosciutto, cut in half
12 pieces of mozzarella cheese, about ½ inch thick rectangles
12 pitted black olives, halved
1 teaspoon ground black pepper
½ cup flour
1 egg
3 tablespoons milk
2 cups bread crumbs of your choice
¼ cup unsalted butter
2 cloves garlic, finely minced
½ cup chopped Italian parsley
toothpicks (optional)
¼ cup butter and ¼ cup olive oil (or enough to cover the bottom of a large skillet to a ¼ inch depth, equal parts)

Instructions

On one side of each breast or cutlet, place a piece of prosciutto, a piece of mozzarella, and two olive halves. Sprinkle with freshly ground pepper. Fold unfilled side over to cover filling, and press edges firmly together to enclose filling or secure with toothpicks.

Flour each package so it is dusted on all sides. Beat egg slightly, adding milk. Dip chicken packages into mixture on both sides. Then dip into bread crumbs. Chill for at least a ½ hour or longer.

Melt ¼ cup butter in a small saucepan. Add half the chopped garlic and parsley. Keep warm until chicken is cooked.

Heat butter and olive oil in skillet with remaining garlic and parsley until fats are hot but not smoking. Place breaded chicken in skillet and turn heat to medium high. Saute chicken quickly, only until golden. Turn once to cook the other side.

Remove to heated serving dish. Remove toothpicks, if using. Pour warm garlic parsley butter on top.

Serves 8-10.

Adapted from “The Art of Good Cooking,” by Paula Peck.
Yum

Schnecken

Schnecken

Schnecken

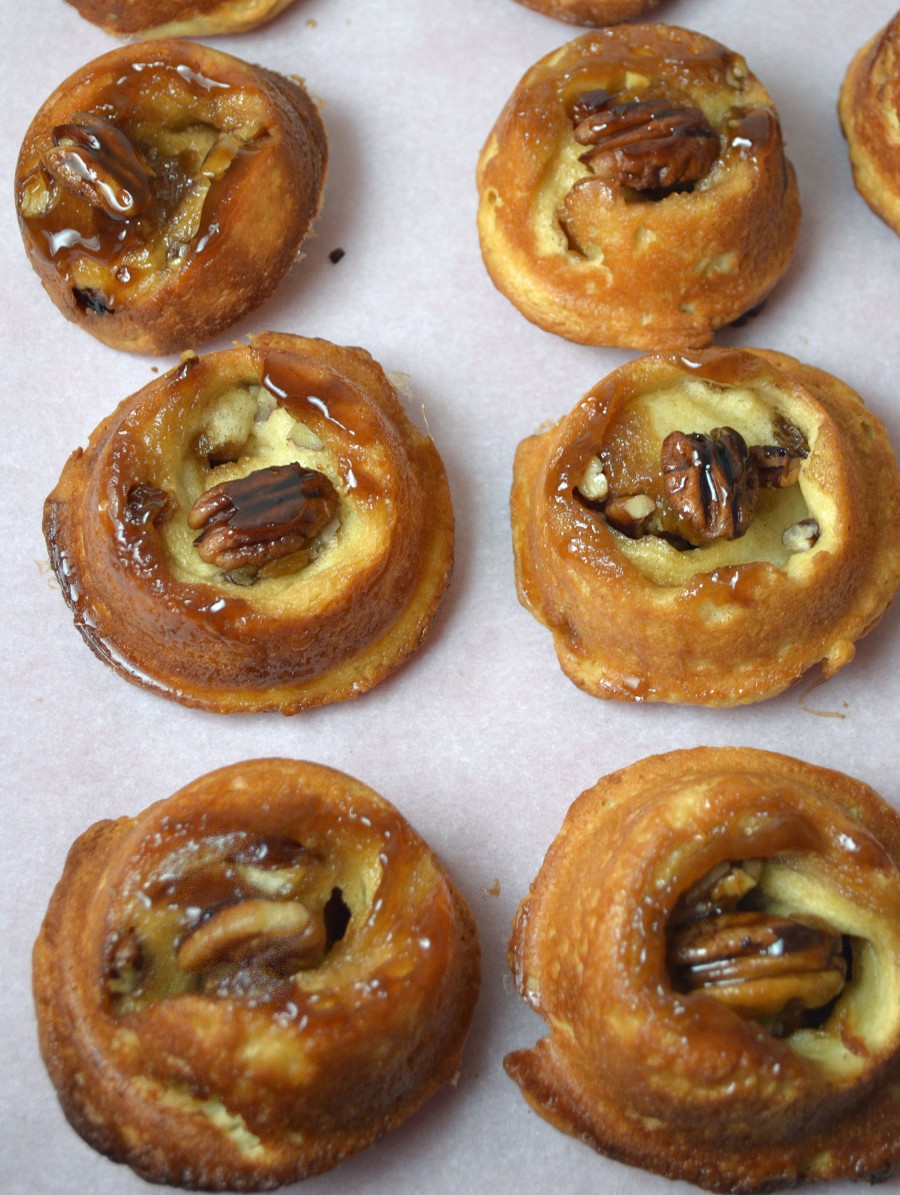
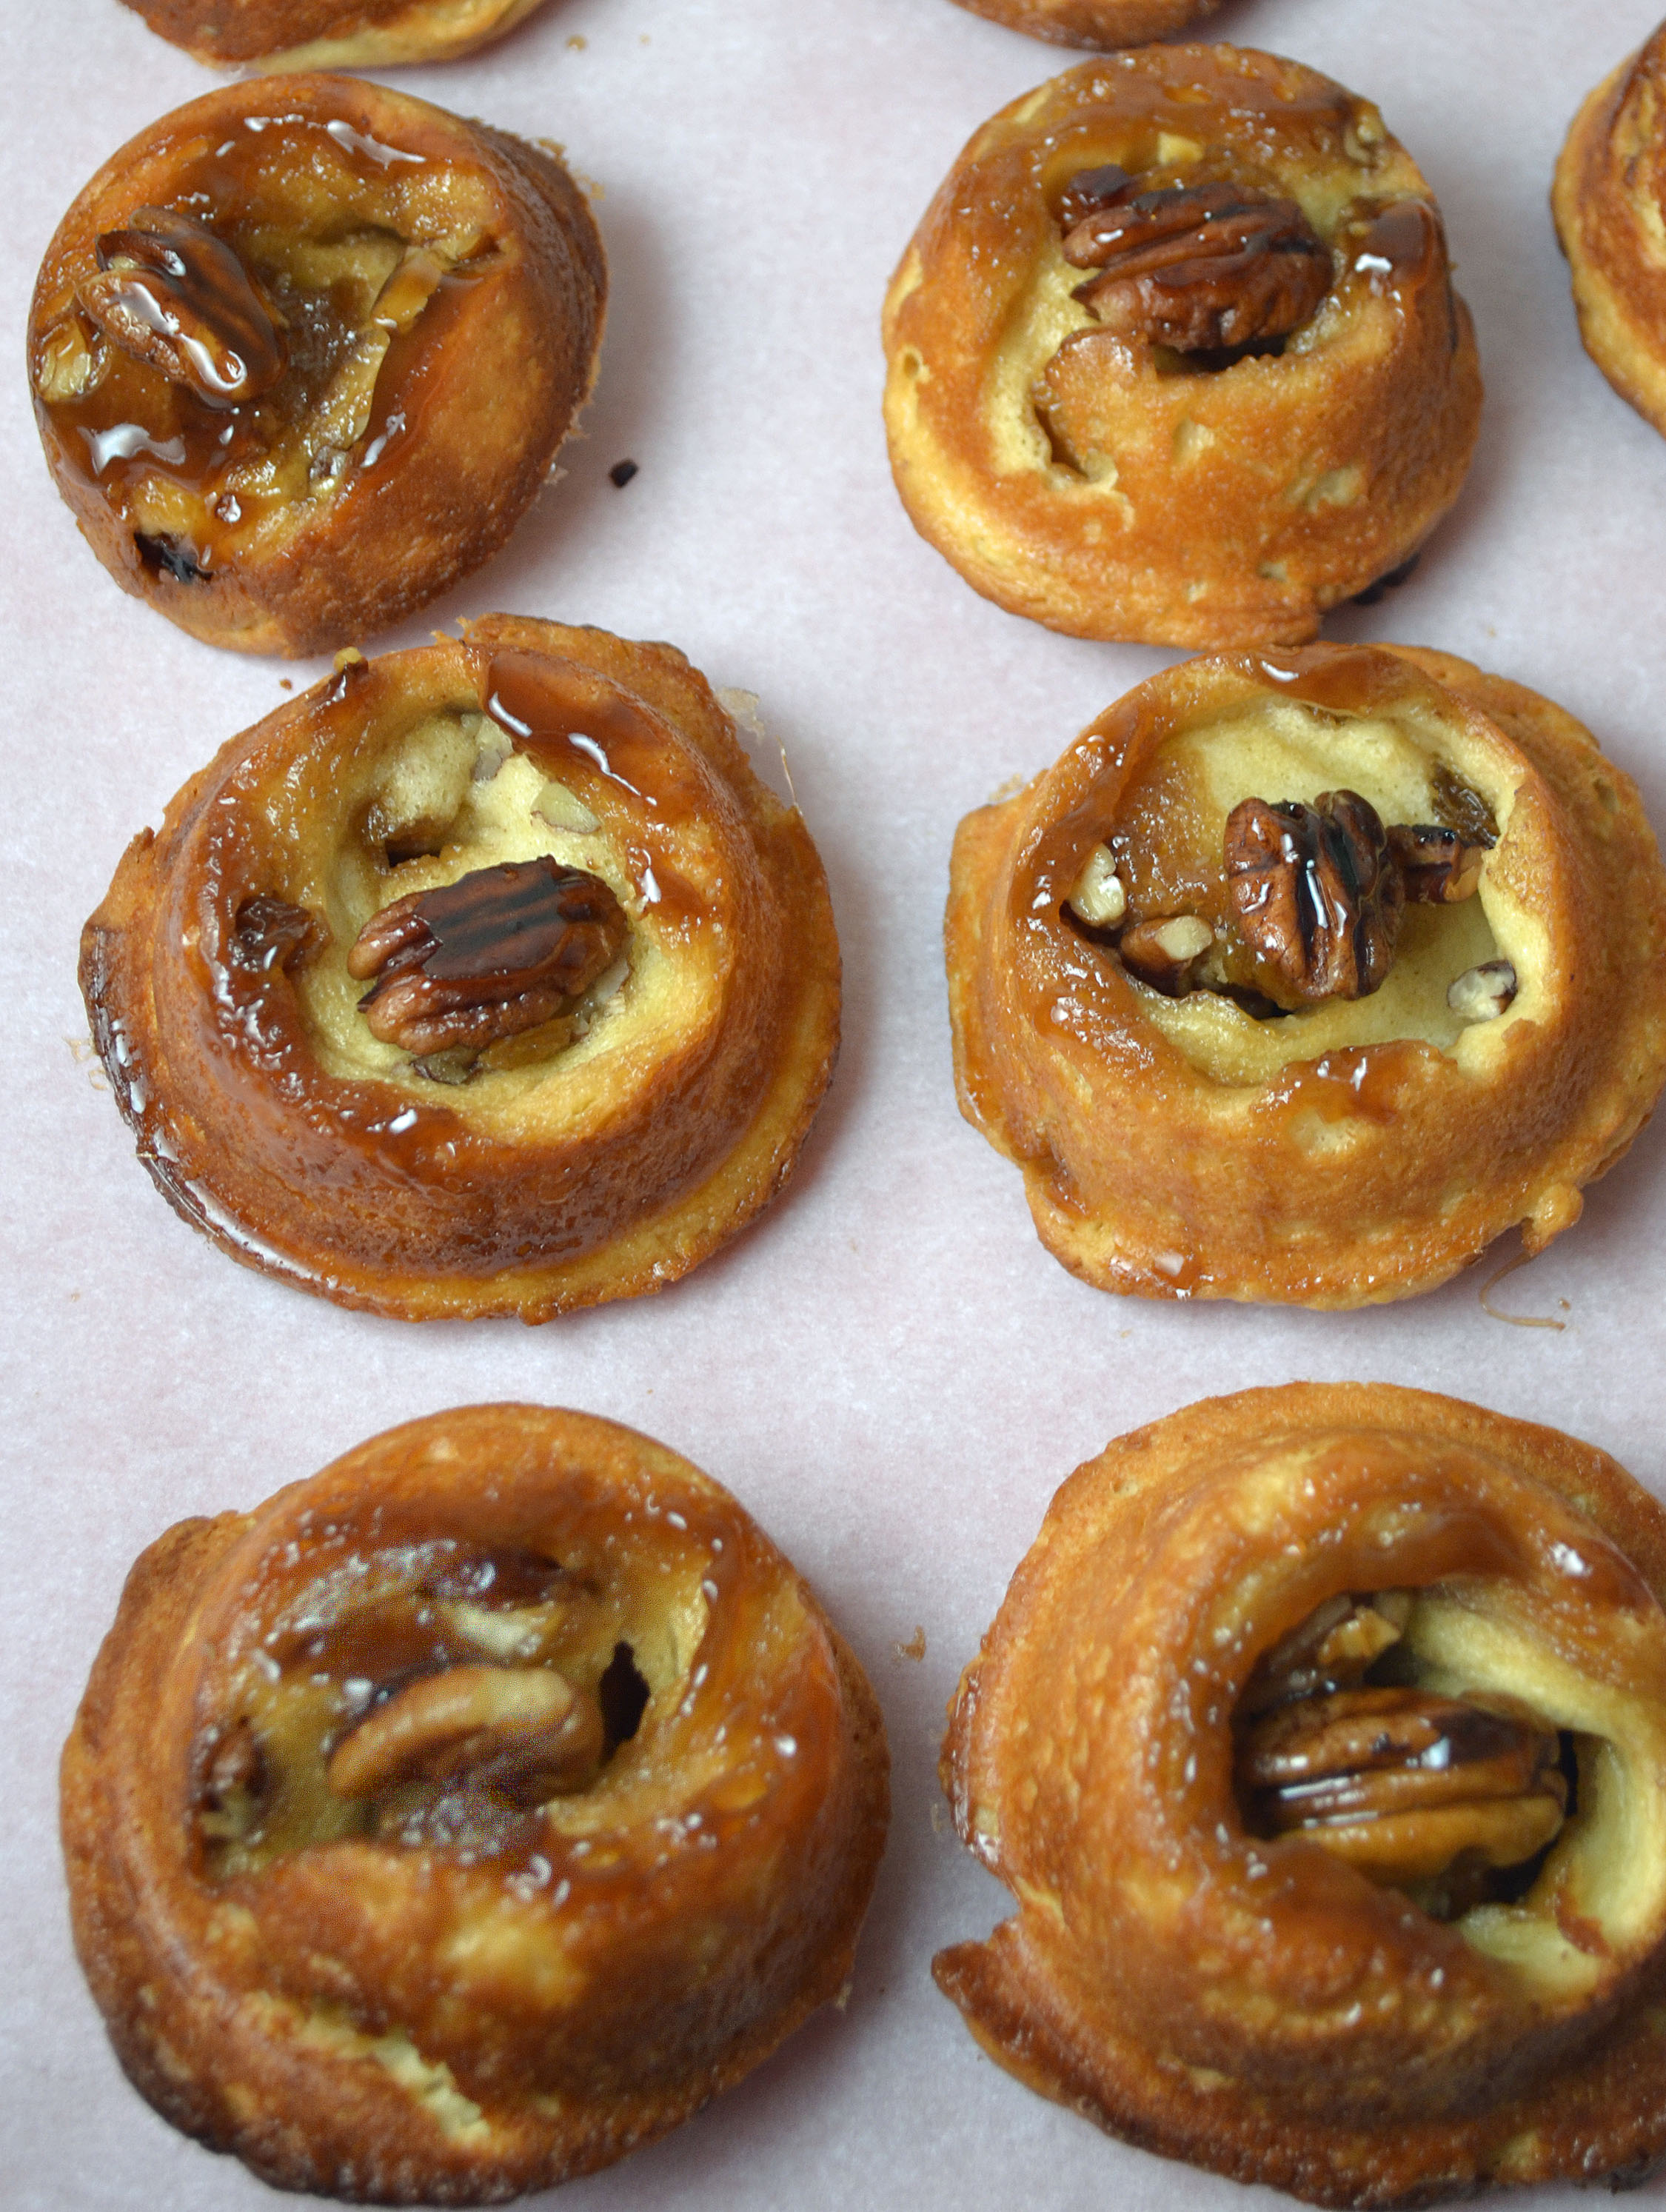
What’s a Schnecken? Some kind of gadget souvenir? This was the thought that crossed my mind when I found this recipe in “The Art of Fine Baking.” After reading through it and then of course baking some, I came to the conclusion that these are basically small, almost bite sized, cinnamon/caramel rolls. For those of you who are unfamiliar with Schnecken, as I was, it’s a German pastry and the name Schnecken means snails – referring to the shape of these delicious breakfast treats. Apparently, Schnecken are often confused with rugelach (also German) but I don’t see much of a similarity other than that they are both rolled pastries creating a spiral of the filling.

I happen to have a weakness for caramel and cinnamon rolls and though these photos may lack the bells and whistles of a carefully styled shoot, you can see that this recipe definitely delivers on all the important aspects: ooey gooey caramel, crunchy nuts, cinnamon, and raisins. One tip: just make sure to use enough of the butter sugar mixture –  the softer and stickier, the better.

Ingredients:

1/2 cup soft unsalted butter
1 1/2 cups well-packed light brown sugar
1 tablespoon white corn syrup
1 1/2 cups coarsely broken or whole pecans
1 recipes Rich Sour Cream Dough
2 teaspoons cinnamon
1 cup raisins
1 cup finely crushed pecans

Cream butter with 1/2 cup light-brown sugar. Beat in corn syrup. Grease regular size or mini muffin tins with this mixture, using it generously. Place 2 or 3 pecan pieces into each muffin cup.

Preheat oven to 375 degrees.

Roll dough into a long rectangle 1/4 inch thick. Sprinkle with remaining sugar, cinnamon, raisins, and crushed pecans. Roll dough tightly, jelly-roll style, sealing the seam. If roll becomes much thicker than the size of muffin tins, stretch it out. If it is too thin, gently compress it.

Slice roll into pieces which will fill muffin cups halfway. Press into cups firmly. Let rise only until dough looks puffy.

Bake in preheated oven about 20 minutes, or until tops of shnecken are golden brown.

Turn muffin pans upside down immediately, to remove schnecken and to permit glaze to run over sides.

Yield: approximately 7 dozen small shnecken or 5 dozen larger ones. Recipe can be easily halved.

Adapted from “The Art of Fine Baking,” by Paula Peck.

Yum

Baked Heirloom Tomatoes and Onions

Baked Heirloom Tomatoes and Onions

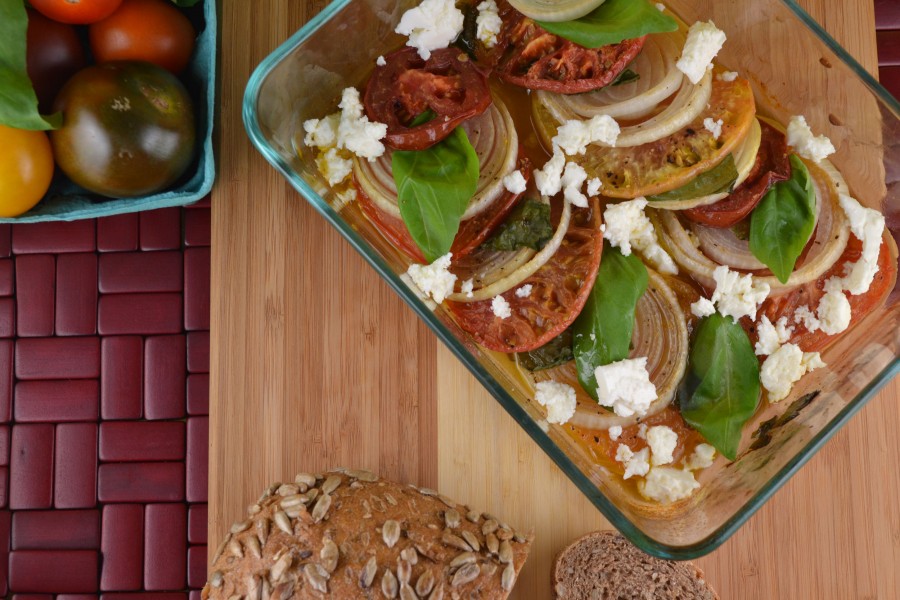
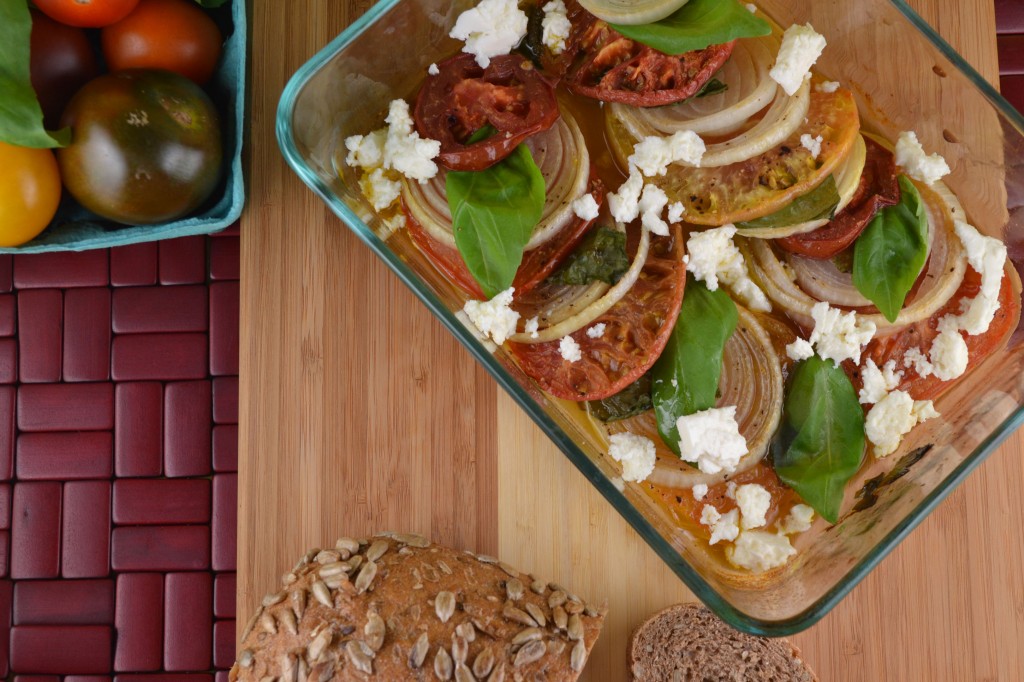
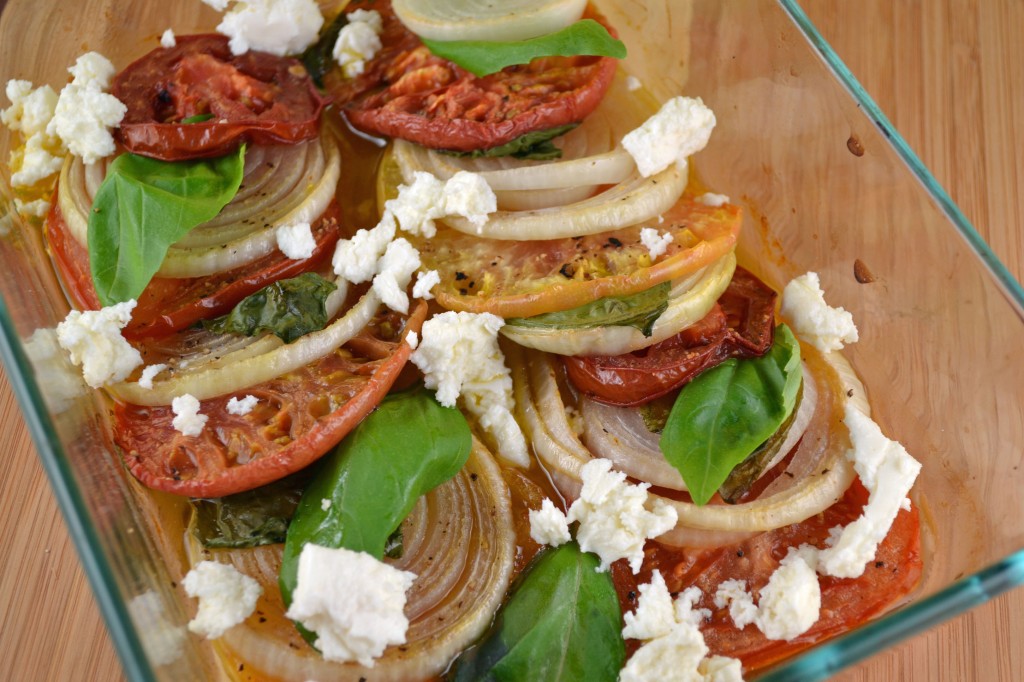
You may be looking at this photo and thinking this dish is leftover from summer, that this was taken in mid-August when Tomatoes are supposed to be at their peak. I actually found these fabulous heirloom tomatoes in all different sizes prominently displayed at one of the busiest whole foods in the country here in NYC this week. And at summer prices. Pumpkins and apples are definitely here (though still on the expensive side) but let’s use up the best of summer before jumping into fall.
I was surprised by both the simplicity and tastiness of this dish from “The Art of Good Cooking.” I added some fresh herbs like basil, parsley, and thyme both before and after baking. I then sprinkled the whole dish with fresh feta cheese and served it on slices of a toasted seeded grain bread. A healthy and light appetizer or lunch reminiscent of those dog days of summer and the colorful produce it brings.

2 large spanish onions
salt and pepper
2-3 tablespoons extra virgin olive oil
2-3 large heirloom tomatoes
1 sprig fresh thyme
8 fresh basil leaves
2 tablespoons chopped parsley
1 tablespoon capers (optional)
feta cheese for sprinkling (optional)
1 loaf rustic grain or rye bread, sliced (optional)

Preheat oven to 375 degrees.

Peel onions and slice about 1/4 inch thick. Place onions in baking dish and season with salt and pepper. Drizzle a little olive oil over each slice. Cut tomatoes in slices. Place a slice of tomato on each slice of onion. Or, stagger slices, alternating onion and tomato. Drizzle with remaining olive oil and season with salt and pepper. Lay 4-5 basil leaves across the top or sandwich them between the tomato onion layers. Place a sprig of thyme between the 2 rows of layers.

Bake about 45 minutes or until onions are tender and tomatoes are wrinkled. Baste occasionally with additional oil if needed.

Remove from oven and garnish with remaining basil leaves, chopped parsley, capers (if using) and sprinkle with feta cheese.

Serve warm or at room temperature on toasted slices of rustic grain or rye bread.

Serves 6.

Adapted from “The Art of Good Cooking,” By Paula Peck.

Yum

Gougeres

Gougeres/Cheese Puffs

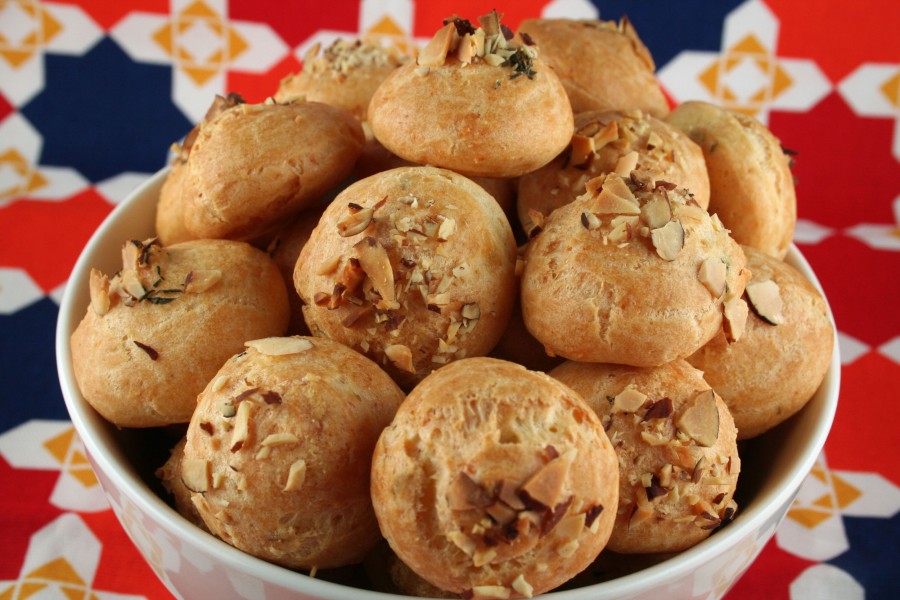
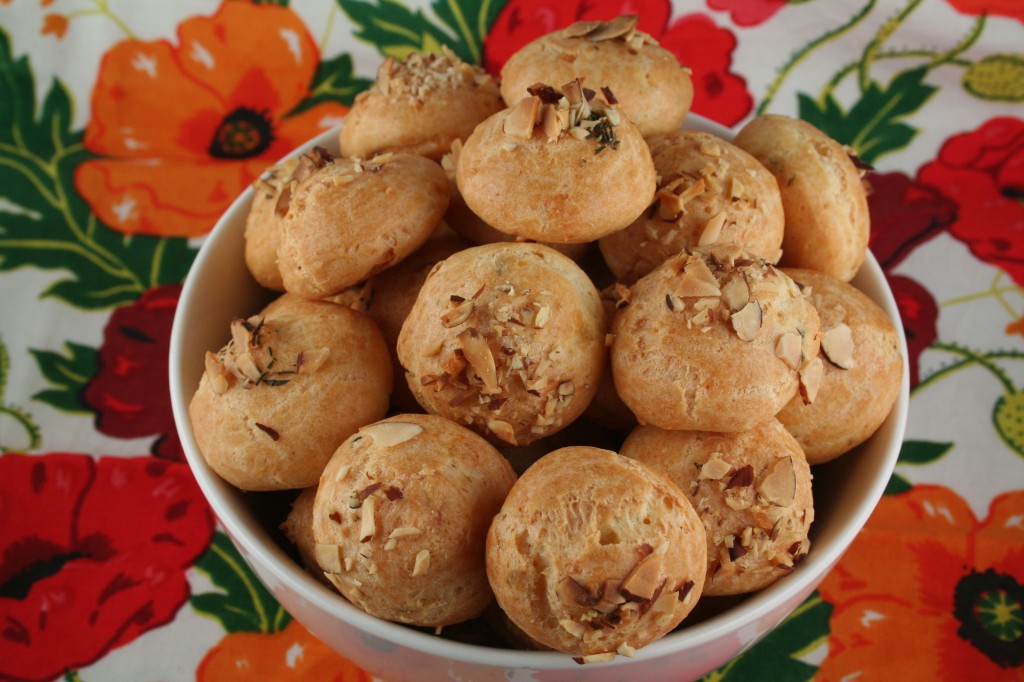
Classic cheese puffs or French gougeres are always a delicious addition to any meal. Unfortunately, like cream puffs (same pate a choux batter base), these are scrumptious shortly after coming out of the oven but barely edible the next day. The recipe as written in The Art of Fine Baking lacked the strong cheese flavor I craved from these light puffed morsels. I ended up using an incredible amount of cheese, double the amount in the original recipe. Plus I added Parmesan for an additional punch and a pinch of cayenne and paprika for a little zip. Of course, I then had to take it one step further and add a fresh herb. A sad bunch of thyme happened to be sitting in my fridge, waiting to be used, so I added it to the almond Parmesan sprinkle before baking. The rich smell that wafts through your kitchen while these sharp cheesy nutty bites bake, is almost worth it in itself.

A note about the baking time for this recipe: unlike cream puffs, you do not want to bake these until they dry out in the center. These should be removed from the oven within 5 minutes of barely turning a light golden brown.

1/4 cup (4 oz) unsalted butter, cut in small pieces
1 cup water
1 cup sifted flour
3/4 teaspoon salt
4 eggs
1 1/4 grated gruyere cheese
1/2 cup Parmesan cheese
1/4 cup sliced almonds, chopped
2 tablespoons thyme, chopped
1 teaspoon kosher salt

Preheat oven to 375 degrees.

Combine butter and water in saucepan. Cook over medium heat until butter is melted and mixture is boiling. Turn heat to very low. Add flour mixed with salt all at once. Stir vigorously until a ball forms and does not stick to the pan. Stir over heat another minute or two to slightly dry out. Remove from heat and transfer to a clean bowl. Allow to cool 1 minute.

Add eggs, one at a time, beating hard after each addition. The final egg should beaten with a fork and added gradually to ensure the right consistency. Batter should be just stiff enough to stand at a peak when a spoon is withdrawn or if a finger is run through it, the channel fills in slowly. Sometimes it’s necessary to add slightly less or even one more egg depending on the dryness of the flour and the temperature of the room.

Beat all but a 1/4 cup of cheese into pate a choux batter. Combine nuts, thyme, and remaining cheese in a small bowl. With a pastry bag or spoon, form small high mounds on parchment paper lined baking sheet. Sprinkle nut cheese mixture on top. Bake about 35 minutes or until puffs are lightly golden brown and there are no beads of moisture showing. Serve warm.

Yum

Frozen Raspberry Mousse

Frozen Raspberry Mousse

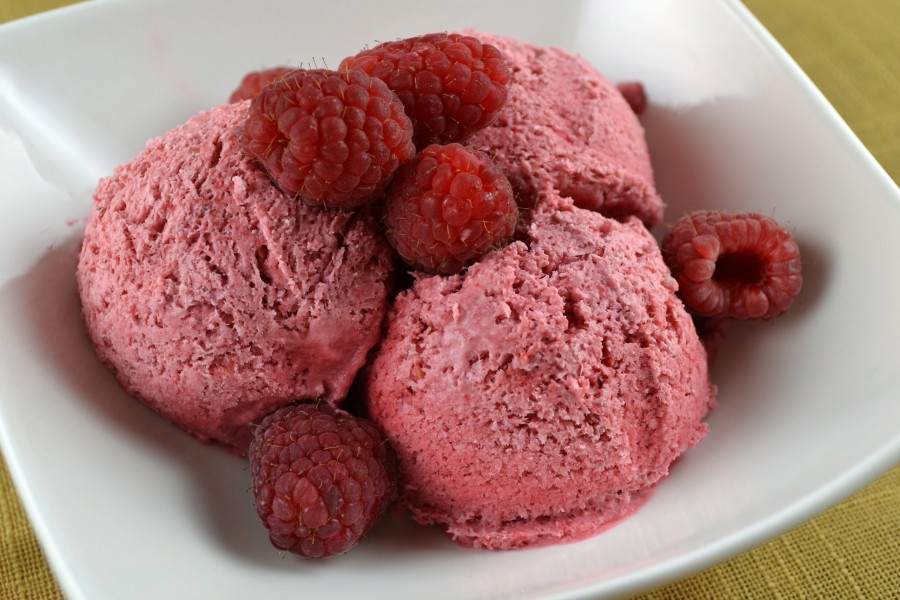
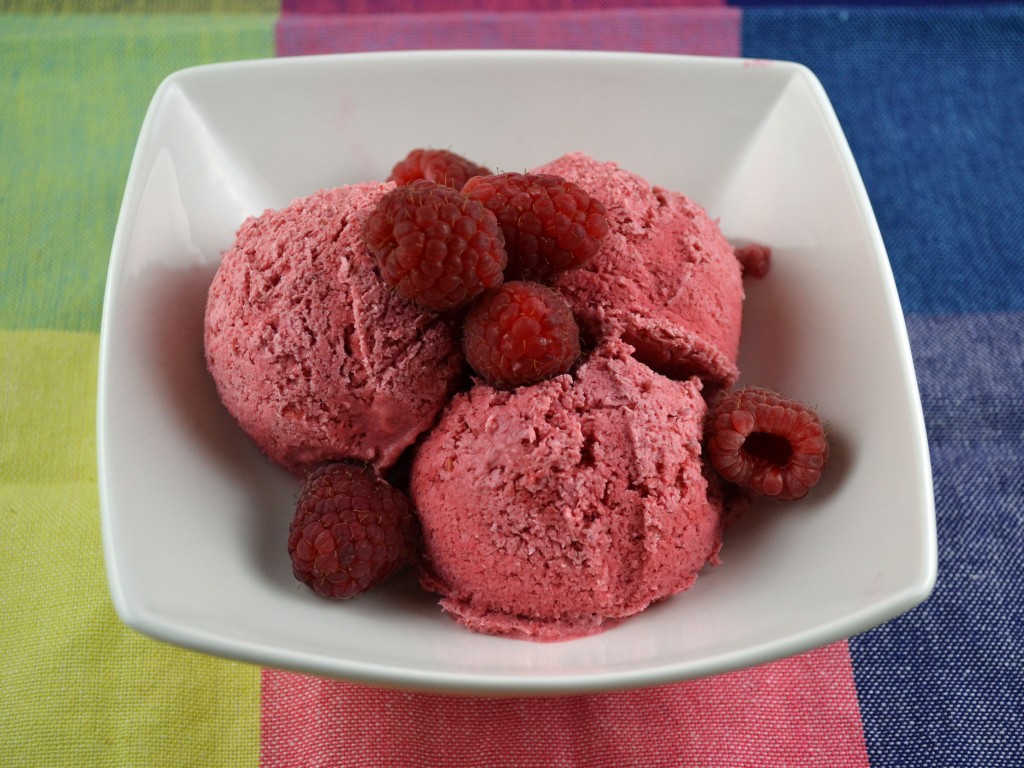
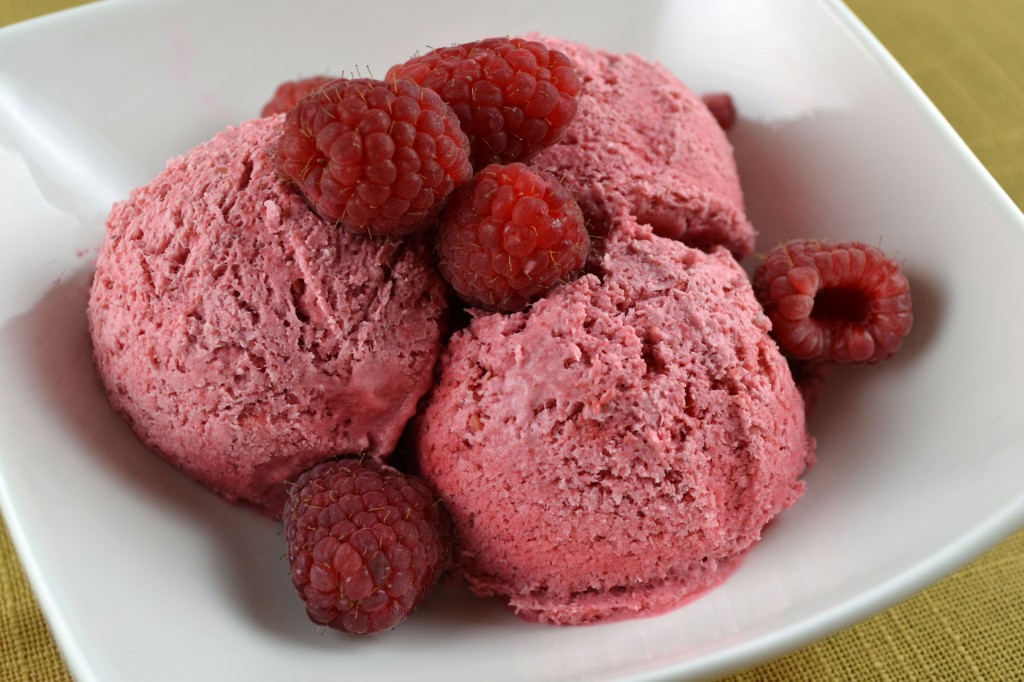
Don’t let the photo deceive you. This is not ice cream despite what you maybe thinking. At least not conventional ice cream (it is afterall, a form of iced cream, literally). No ice cream maker needed for this bright mousse made with fresh or frozen (more affordable) raspberries. Easily summed up with 5 ingredients and though the final texture is more icy and less creamy than I would normally want in a mousse, I keep going back for more. The tang of the raspberries is balanced by the richness in the cream and the kirsch or framboise ensures the mousse doesn’t harden too much in the freezer. As summer comes to a close, this quick mousse is a reminder of light refreshing desserts as the heavier fall pies and cobblers begin to takeover.

1 cup raspberry puree (1-2 packages frozen raspberries or 2-3/6 oz packages fresh raspberries, pureed and sweetened to taste with 1-2 tablespoons confectioners sugar; seeds discarded)
2 tablespoons framboise or kirsch
2 egg whites
pinch of salt
2 tablespoons granulated sugar
2 cups heavy cream, whipped

Combine raspberry puree with framboise or kirsch. Beat egg whites with salt till they are stiff. Beat in sugar, a little at a time, and continue beating till whites are very firm. Fold whipped cream and stiffly beaten egg whites together. Fold in raspberry puree. Pour into a bowl which can be placed in the freezer. Cover and freeze in freezer until mixture is firm.

Serves 6.

Yum

1 23 24 25 26 27 33