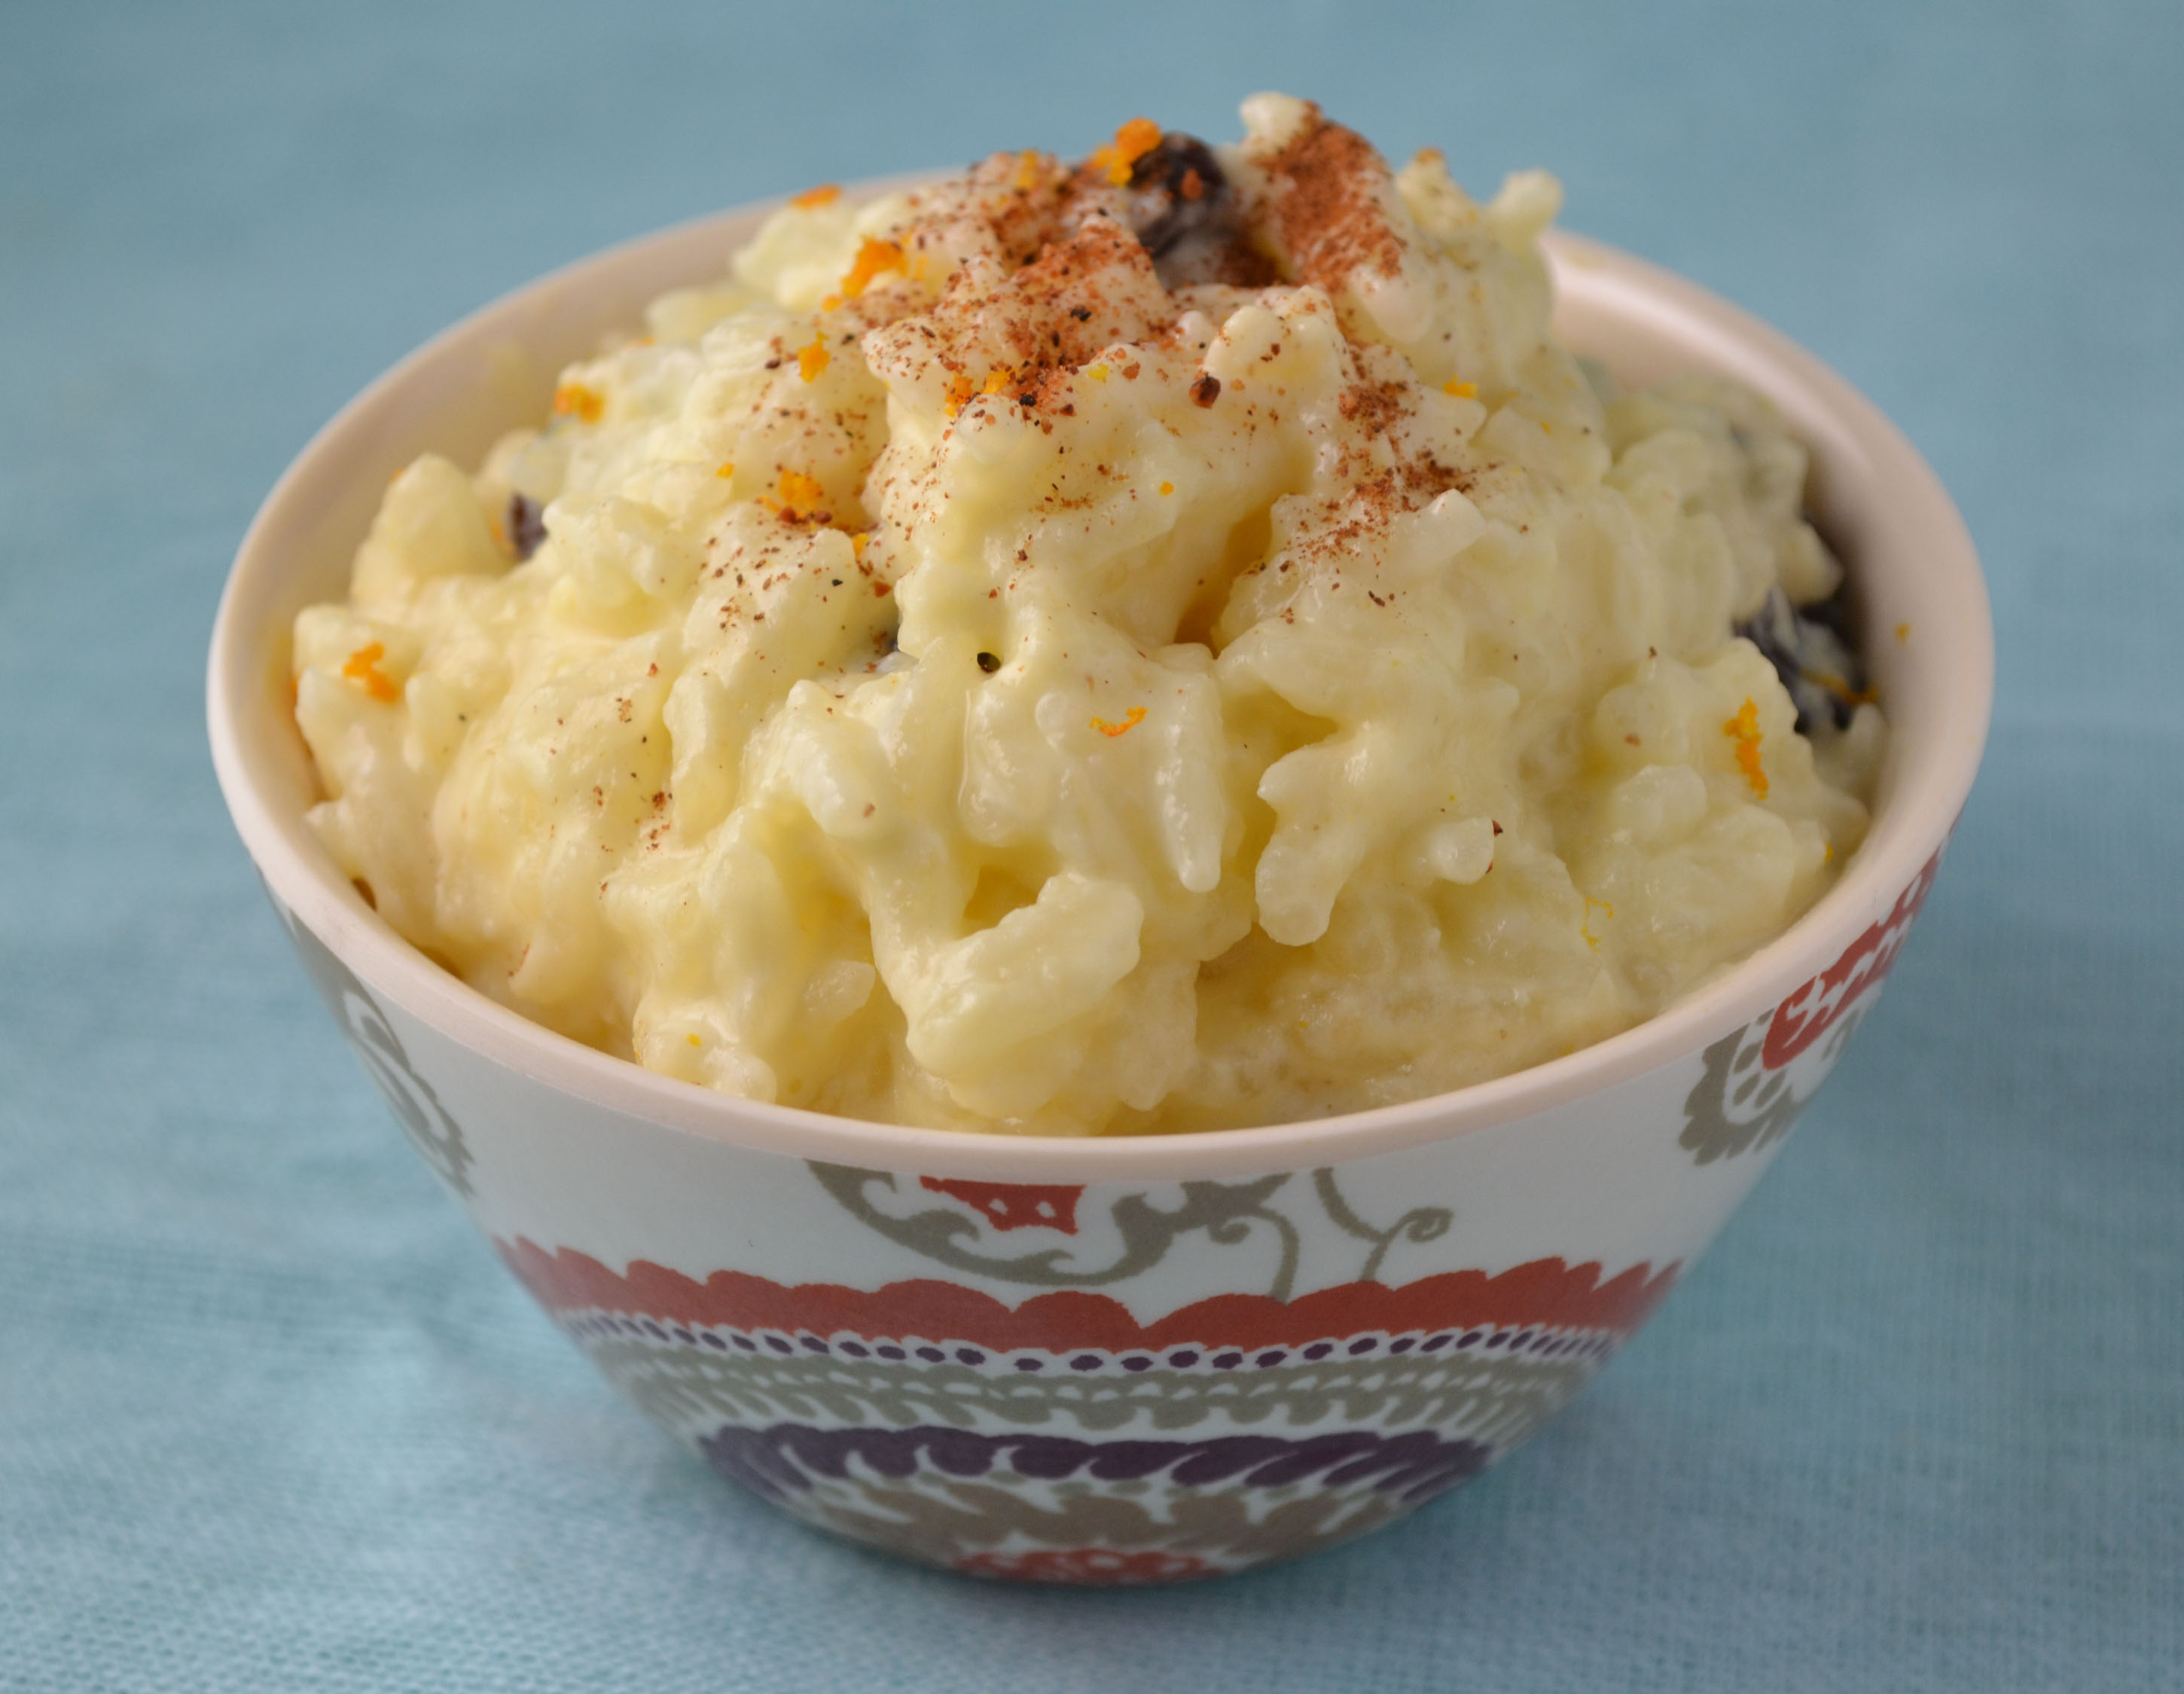
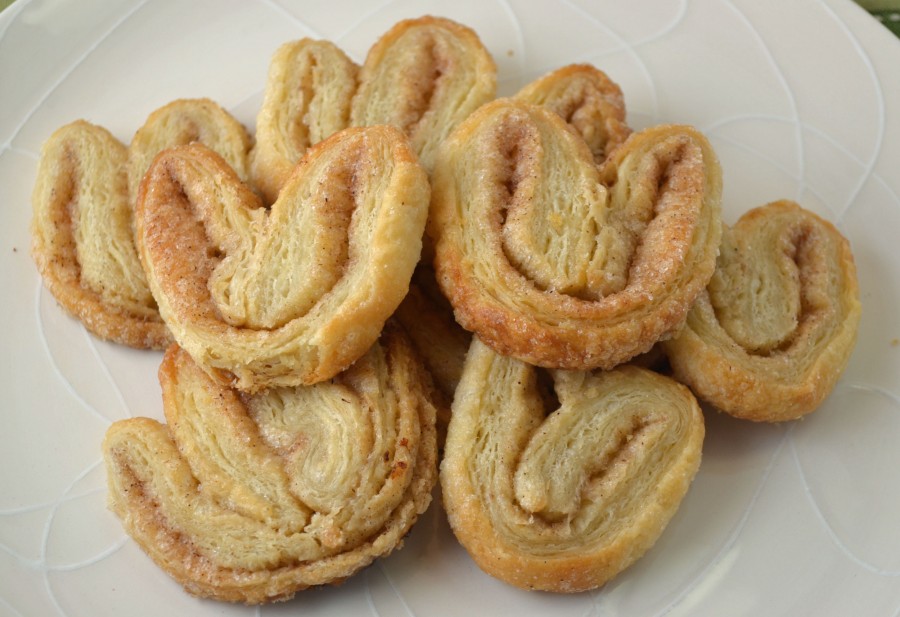
Crème Brûlée

Classic Creme Brûlée

Creme Brulee


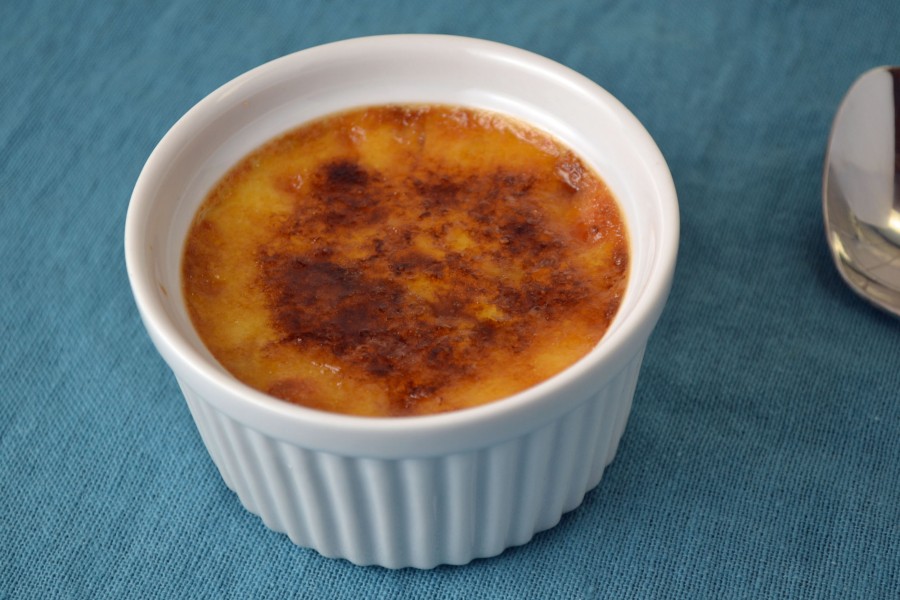
Crème brulee is one of those semi-fancy French-American desserts that often seems too pretentious to make at home. This rich custard, also known as burnt cream – a reference to its hard caramelized top layer, is not as fussy to make as it looks. Those familiar with crème brulee may think you need those cute little kitchen blow torches to make it properly. A blow torch is definitely more fun but not necessary. This dessert was around long before anyone determined a blow torch was the best way to caramelize the sugar on top of the cream. I can’t imagine my grandmother using a blow torch in the 1960’s, when she did the majority of her cooking and baking. Although this is not her recipe, it was published around the same time period in 1961 in “The New York Times Cookbook,” by friend and colleague, Craig Claiborne.

So what can you use instead of a blow torch? The broiler, of course. The texture may not be as perfect but a similar sugary glass-like shell can be achieved. Shallow ramekins (unlike the ones shown here) will also help the cooking process. They simply allow the crème to bake faster and provide more surface area for caramelization. Blow torch or not, that first spoonful of the crispy burnt caramel with rich vanilla crème will make the few extra steps to make this impressive dessert, well worth it.

Ingredients:

3 cups heavy cream
6 tablespoons sugar
6 egg yolks
2 teaspoons vanilla extract
1/2 cup light brown sugar

Preheat oven to 300 degrees.

Heat cream over boiling water (in a double boiler) and stir in sugar. Beat the egg yolks until light and pour the hot cream over them gradually, stirring vigorously. Stir in the vanilla and strain the mixture into ramekins.

Place the dishes in a pan containing one inch of hot water and bake until a knife inserted in the center comes out clean, or 35 minutes. Do not over-bake. The custard will continue to cook from retained heat when it is removed from the oven. Chill thoroughly.

Before serving, cover surface with brown sugar. Set the dishes in a pan with cracked ice and put under the broiler until sugar is brown and melted. Serve immediately.

Serves 6-8.


Yum

Devils Food Cake with Meringue Frosting

Chocolate Devils Food Cake

Chocolate Devils Food Cake with Meringue Frosting

There is something magical about meringue. The process of whipping liquid egg whites into a sugary pillow-like mass is not just satisfying, but fun. From cookies and marshmallows to frosting recipes such as this, there are multiple uses for shiny sweet meringue. Despite whatever the intended purpose, I can’t seem to resist dipping my fingers into the bright soft fluff and eating most of it before it makes it out of the mixing bowl.

This meringue frosting recipe, inspired from “The Art of Fine Baking,” is really just a basic Italian Meringue: the egg whites are “cooked” by beating in a water sugar mixture that has been heated to soft ball stage (238 degrees). This process creates an extra shiny thick meringue, which is all the more irresistible. Butter can also be added to create a meringue buttercream. I skipped this step because I personally don’t think the frosting needs butter. The greasy addition also makes it much easier for the meringue to break down and create a soggy mess.

But enough about meringue, let’s talk cake. I know I need to be more open minded but whenever I make a cake, it usually has a chocolate component. In this case, the cake itself is chocolate since the meringue frosting is not. I also took it one step further and added melted chocolate to a small amount of the frosting for a chocolate surprise in the middle layer. This of course is optional. The cake is a Red Devils Food Cake recipe that I adapted from “The New York Times Cookbook“ by Craig Claiborne, a good friend of my grandmother. It’s a basic chocolate cake with just the right amount of moistness. Paired with the meringue frosting, it becomes impressive and indulgent. I dare you to eat just one slice.

Ingredients:

Devils Food Cake
1 3/4 cup sifted cake flour
1 1/2 cups granulated sugar
1/3 cup cocoa powder
1 1/4 teaspoons baking soda
1 teaspoon salt
1/2 cup vegetable oil
1 cup milk
2 eggs
1 teaspoon vanilla extract

Meringue Frosting
1 cup sugar
1/2 cup water
1 tablespoon corn syrup
3 egg whites
pinch salt
1 teaspoon vanilla extract

For the cake:

Preheat oven to 350 degrees. Grease the bottoms of two 9-inch layer cake pans, line with waxed paper or parchment paper and grease the paper.

Sift together flour, sugar, cocoa, soda, and salt. Add the oil and 2/3 cup of the milk and mix. Beat two minutes. Add remaining ingredients and beat two minutes longer.

Turn the batter into the prepared pans and bake on the lower shelf of the oven until the cake springs back when pressed lightly in the center, 30-35 minutes.

Cool the cake in the pan five minutes. Turn out on rack, remove paper, and frost as desired.

For the meringue frosting:

Combine 2/3 cup of sugar with water and corn syrup in a saucepan. Stir over low heat until sugar is completely dissolved. Raise heat and boil syrup without stirring until a candy thermometer reads 238 degrees, or a few drops of syrup form a soft ball in cold water.

While syrup is cooking, beat egg whites with pinch of salt until they form soft peaks. Gradually beat in vanilla extract and remaining sugar, a little at a time, until whites are firm. Pour boiling syrup in a fine stream over whites, beating constantly. Continue beating until completely smooth and stiff. Cool.

Yum

Cats Tongue Cookies

Cats Tongue Cookies Langue du Chat

It’s funny how a simple butter cookie can inspire such nostalgic memories. As a child, Cats’ Tongues or Langues du Chat was one of the first recipes I tried from “The Art of Fine Baking.” Although I enjoyed piping the buttery dough onto baking sheets, I didn’t really understand this plain cookie. Perhaps my taste buds were too accustomed to the corn syrup filled treats that were so readily available. Or maybe I just didn’t try these delicious little bites while they were still hot and fresh from the oven (by far the best time to eat them). Whatever the reason, it wasn’t until my father shared his memories of my grandmother making them that I really began to enjoy and appreciate this simple sweet treat. However, the addition of chocolate didn’t hurt either.

Cats’ tongues cookies were the go-to cookie in Paula Peck’s kitchen. She would often make them for my father and uncle, who as children, eagerly watched as she piped the skinny pencil thin drops of dough onto a baking sheet. Fascinated with the pastry bag, my father often begged to try it and on the occasion that my grandmother relented, he promptly made a big mess of cookie dough and whatever baking sheet or other kitchen equipment/utensils it came in contact with. Once the cookies finally made it out of the oven, they were consumed by fist full.

After whipping up a batch of these in under 30 minutes, I now see why they were a popular treat in my grandmother’s kitchen. Not only are they easy to make, it’s hard to stop eating them. This recipe is fairly large and can be easily halved but if you don’t finish them while fresh and hot, dip the cooled cookies in chocolate. The chocolate adds a twist to the original plain cookie, making these buttery delights irresistible to all of us choco-holics.

Ingredients:

1/2 cup sugar
1/2 cup butter
3 egg whites
1 cup sifted flour
pinch salt
1/2 teaspoon vanilla extract
melted chocolate for dipping (optional)

Preheat oven to 400 degrees. Grease and flour baking sheets or line with parchment paper.

Cream butter and sugar. Beat in egg whites, a little at a time, beating well after each addition. Fold in flour, salt, and vanilla. Fit a pastry bag with a large star tube and fill bag with 2/3 of the cookie batter. On prepared baking sheets, pipe pencils of batter about 2 inches long. Leave one inch between cookies for spreading.

Bake about 7 minutes or until edges of cookies are golden brown. Centers should remain light. Remove cookies from baking sheets at once. Once cool, dip in melted chocolate (if using).

Yield approximately 50

Cats Tongues

Yum

Rice Pudding

Rice Pudding

Rice Pudding

Comforting and easy, rice pudding is a classic winter treat. It’s often considered a dessert but I usually find myself making a big a batch and eating it for breakfast throughout the week. Maybe not the healthiest breakfast option, but it somehow makes more sense than eating it after dinner. This creamy pudding is not only simple but also budget friendly. You probably already have most of the ingredients. With just basics like rice, milk, eggs, and sugar – you can make a delightful rice pudding in under 30 minutes. There are, of course, variations that have slightly fancier additions. This version from “The Art of Good Cooking” dessert section includes vanilla extract, cinnamon, nutmeg, orange zest, and raisins. These ingredients add tasty layers of flavor but can be considered optional.

I had to make a few more revisions to this recipe than normal. I don’t think it was tested as much as some of the other recipes in my grandmother’s cookbook. It may have been added last minute to fill space among the other somewhat random selection of recipes that make up the dessert section. Most of my revisions are in the measurements. Like most Paula Peck recipes, the ingredients themselves are a delicious combo.

Ingredients:

2 1/2 – 3 cups whole milk
1/2 cup long grain rice
1/4 cup granulated sugar
1/4 teaspoon orange zest
1 teaspoon vanilla extract
2 egg yolks
1/4 cup raisins
1/4 teaspoon each: cinnamon and nutmeg
1/4 teaspoon orange zest for sprinkling (optional)

Heat milk and keep it warm. Add about 2 1/4 cups of the warm milk to rice in a deep pot. Cook over low heat, stirring frequently. From time to time, add more milk, as rice absorbs it. When the rice is entirely cooked, it should be in a very light creamy sauce.

Stir in sugar, orange zest, and vanilla. In a small bowl, break up yolks with a fork. Whisk in about a 1/4 cup of liquid from the rice to temper the egg yolks. Add egg yolk mixture to pudding. Replace over low heat, stirring constantly until slightly thickened ( it will thicken more when it cools).

Remove from heat and stir in raisins. Sprinkle with cinnamon, nutmeg, and orange zest (optional).

Serves 4-6.

Adapted from “The Art of Good Cooking,” by Paula Peck.

Yum

Palmiers

Palmiers

Palmiers by Paula Peck

Sometimes I think my grandmother should have written a book called “101 things to do with puff pastry.” There are at least 20 recipes in “The Art of Find Baking” alone that use this buttery flaky dough. Also known as the elephant ear or palm tree, the classic French Palmier is more versatile than you may think. Instead of rolling the dough in just plain sugar, cinnamon sugar can be used for extra spice.  By folding the dough into the more traditional palmier shape (versus the four-finger), these pastries look similar to a heart and are the perfect accompaniment for that morning cup of coffee on Valentines day.  It may be a bit of a stretch but if Parmesan cheese is used instead of sugar (a far less traditional ingredient), these turn into a delicious game day appetizer for the super bowl. Who knew these simple pastries had so many uses?

The key to a delicious palmier is to make them yourself and eat them fresh. Those sad boxed palmiers you see at the grocery store do not do them justice. Most of us don’t have time for the lengthy process of making puff pastry so store bought puff pastry may be used. As long as you bake them yourself, these snack-worthy pastries will be much better than the often stale, pre-made ones. Since rolling and folding the dough into the palmiers shape may seem daunting or even confusing, I have included the below illustration from “The Art of Fine Baking.” For those of you who are not familiar with this baking book, it’s full of these charming old fashioned illustrations and this one in particular is actually quite helpful. So the next time you have extra puff pastry or are looking for a fun, easy snack – give palmiers a chance. You may be surprised how much you like them.

Ingredients:

Puff Pastry recipe
granulated sugar, cinnamon sugar, or grated Parmesan cheese

Roll out puff pastry in sugar to make a long strip ten inches wide and 1/8 inch thick (if using cheese instead of sugar, roll out pastry in flour). Sprinkle with sugar (or cheese). Determine the center of the strip. Fold each long side inward into thirds, so that two folded halves meet exactly in the center. Then fold halves together to make a compact 6-layer roll. Coat with additional sugar or cheese. Wrap in wax paper and chill for 1 hour.

Palmiers Folding Instructions

Preheat oven to 350 degrees. Cut roll into 1/4 inch slices. Place well apart on ungreased baking sheet. Spread the two halves of each slice slightly so they can expand while baking. Bake about 30 minutes, turning slices over once with a spatula after 25 minutes. Bake until golden brown.

Yum

1 5 6 7 8 9 14