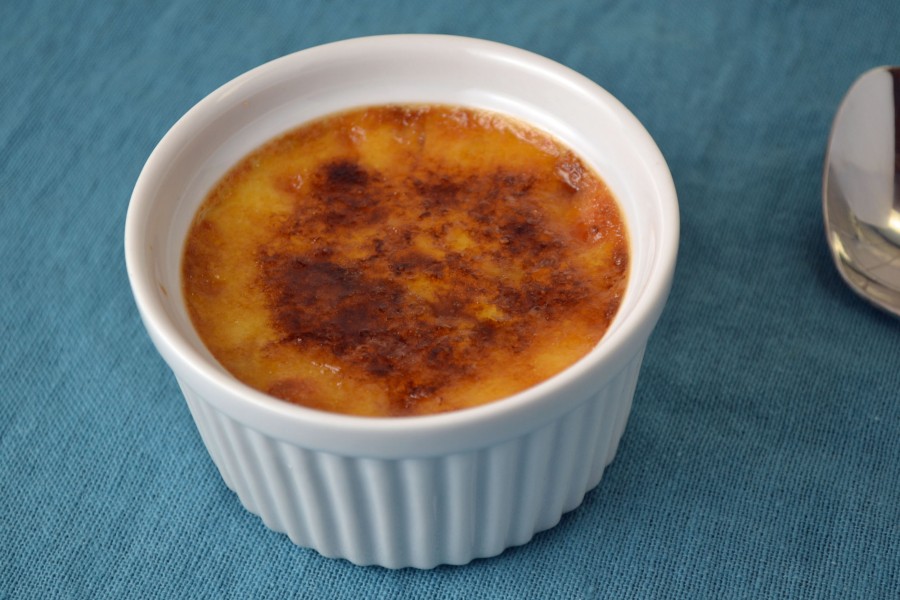
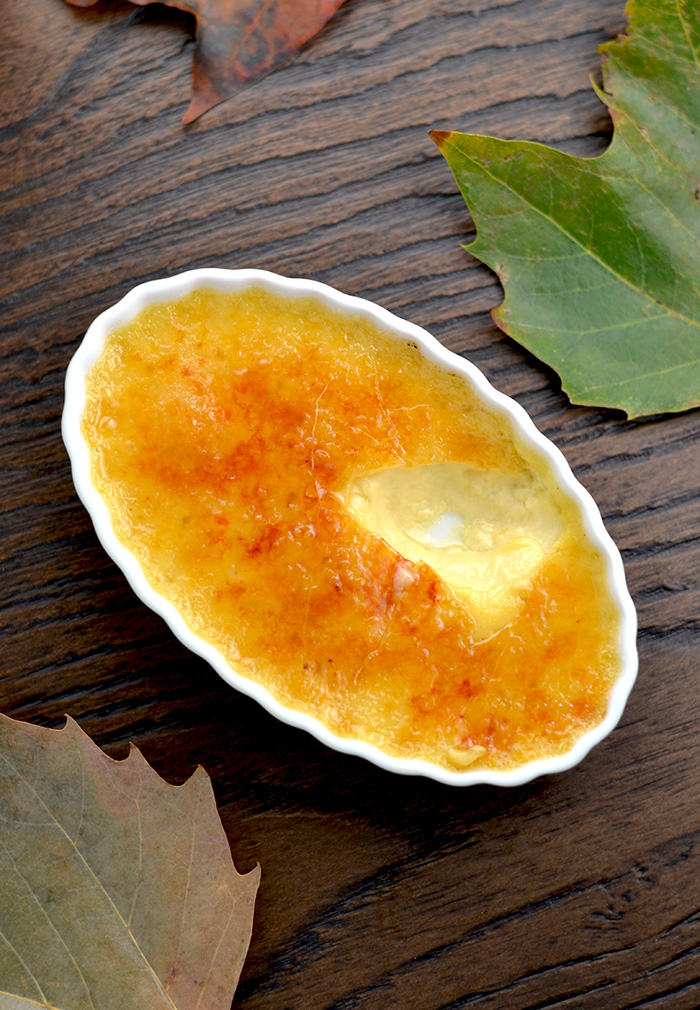
Maple Bourbon Creme Brûlée
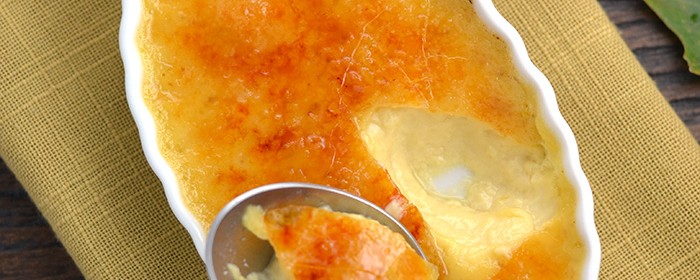
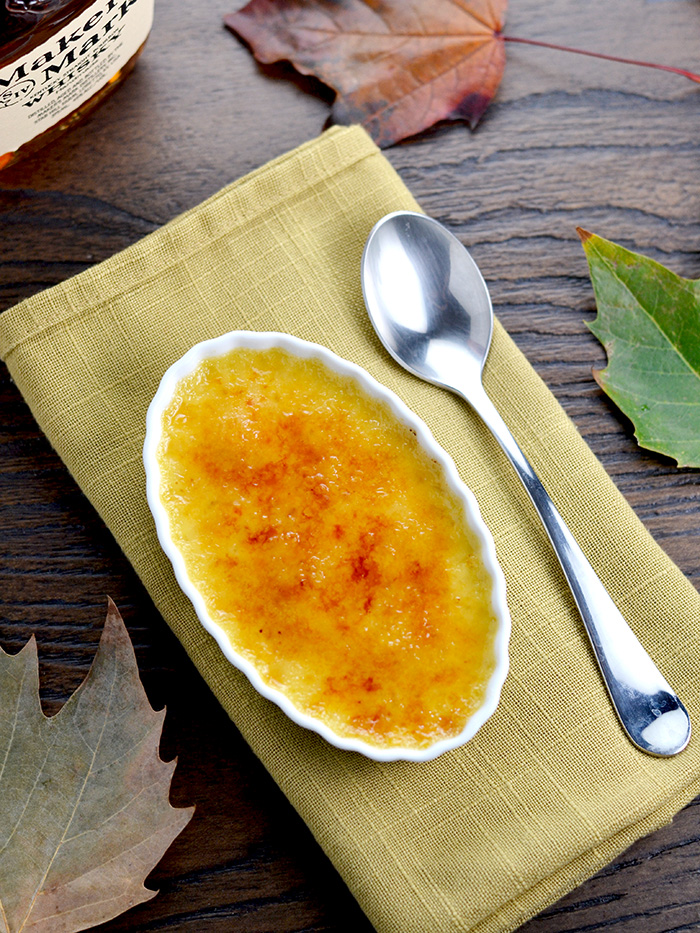
Thanksgiving is almost here and what better way to celebrate than with Maple Bourbon Crème Brulee. It may sound fancy, and taste fancy, but this perfect party dessert is much easier to make than it looks. Maple syrup and bourbon whiskey are the two key ingredients here. The sweet and subtle flavors add just enough complexity to make this crème brulee standout in any crowd of desserts.
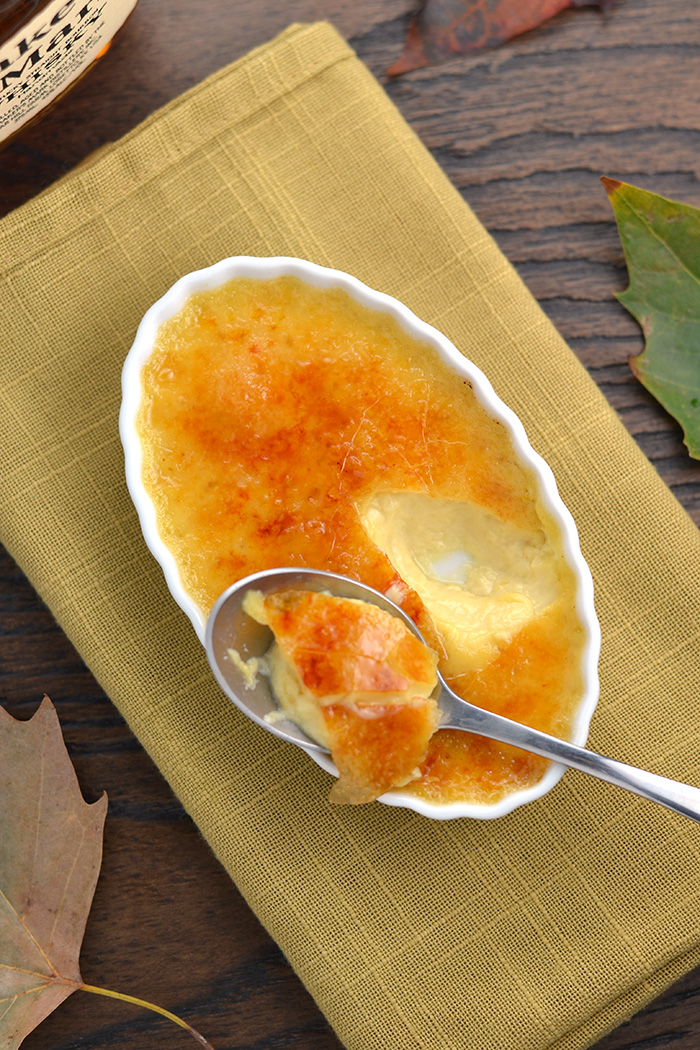
People often find French desserts intimidating and sometimes old fashioned. Souffles, Crème Brulee, Pot de Crème, Tart Tatin are just a few that often sound more sophisticated and difficult than they actually are. Many of these desserts utilize classic techniques that allow for creative modern twists. Crème Brulee is just a baked cream mixture but the caramelized/brulee top provides a slight bitterness that compliments the sweet cream. This brulee or caramelization is often the scariest part about re-creating this restaurant favorite at home, but a top broiler or culinary torch makes it super simple. So fear not! This fancy French dessert is at your fingertips (quite literally).
Although I’ve posted about Crème Brulee previously, this recipe is very loosely adapted from “Baking,” by Dorie Greenspan. It’s unusual that I post two recipes in a row that are adapted from the same cookbook but I’ve been diving into this 500 page all-encompassing baking book and fresh ideas keep coming. Maple and bourbon are such comforting fall flavors, I couldn’t resist pairing them with the rich heavy crème.
I mentioned that this is a great autumn party or holiday dessert. But I should also note that this is a wonderful dessert to make if you’re home alone, stressed, sad, or just need a sweet pick-me-up to finish the day. Just halve this recipe to make around 3 servings and caramelize the sugar on each crème as you’re ready to eat it (this is a little easier to do with a culinary torch). Voila! Maple Bourbon Crème Brulee is a dessert worth enjoying with friends, alone or just because.


Ingredients
Instructions
Preheat the oven to 325 degrees F.
Place molds on a baking sheet with 1-inch high sides.
Bring the cream and milk just to a boil.
In a 1 or 2 quart glass measuring cup or in a medium bowl, whisk together the egg yolks, maple syrup, vanilla, and bourbon until well blended but not airy. Still whisking, drizzle in about one quarter of the hot liquid – this will temper, or warm, the yolks so they won’t curdle. Whisking all the while, slowly pour in the remainder of the cream and milk. Give the bowl a good rap against the counter to d-bubble the custard, then strain it into the baking dishes.
Using hot water from the tap, pour enough water into the baking sheet to reach halfway up the sides of the molds.
Bake the custards for 40 minutes, or until the centers are set – tap the sides of the dishes, and the custards should hold firm. Lift the dishes onto a cooling rack and let the custards cool until they reach room temperature.
Cover each custard with plastic wrap and refrigerate for at least 3 hours, preferably longer. For the sugar to be successfully caramelized, the custards need to be thoroughly chilled.
When ready to serve, Place the molds on a clean baking sheet. Sprinkle 2 teaspoons of the sugar over the top of the custards. It is important to spread the sugar evenly. Torch or place under broiler until sugar is caramelized. Serve immediately.