Crème Brûlée


Crème brulee is one of those semi-fancy French-American desserts that often seems too pretentious to make at home. This rich custard, also known as burnt cream – a reference to its hard caramelized top layer, is not as fussy to make as it looks. Those familiar with crème brulee may think you need those cute little kitchen blow torches to make it properly. A blow torch is definitely more fun but not necessary. This dessert was around long before anyone determined a blow torch was the best way to caramelize the sugar on top of the cream. I can’t imagine my grandmother using a blow torch in the 1960’s, when she did the majority of her cooking and baking. Although this is not her recipe, it was published around the same time period in 1961 in “The New York Times Cookbook,” by friend and colleague, Craig Claiborne.
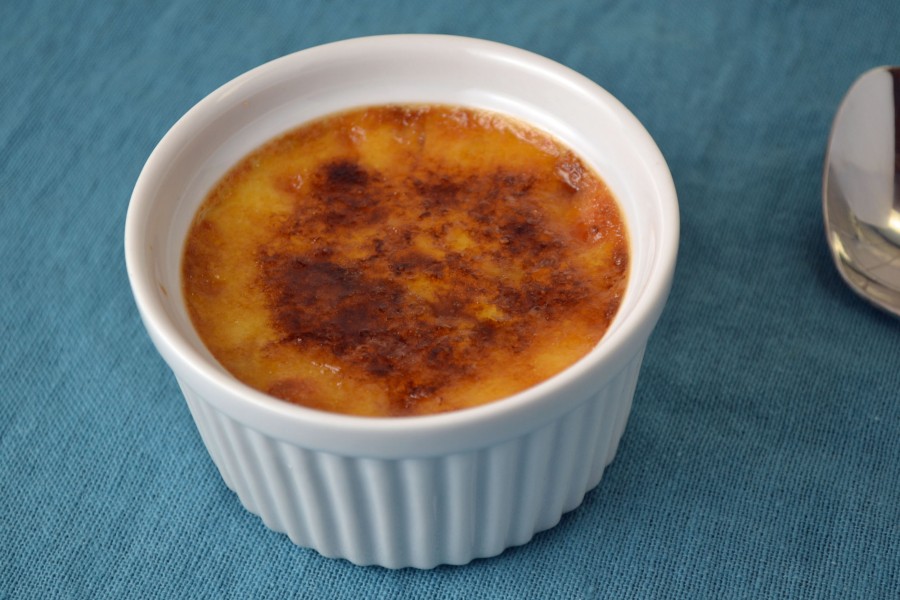
So what can you use instead of a blow torch? The broiler, of course. The texture may not be as perfect but a similar sugary glass-like shell can be achieved. Shallow ramekins (unlike the ones shown here) will also help the cooking process. They simply allow the crème to bake faster and provide more surface area for caramelization. Blow torch or not, that first spoonful of the crispy burnt caramel with rich vanilla crème will make the few extra steps to make this impressive dessert, well worth it.
Ingredients:
3 cups heavy cream
6 tablespoons sugar
6 egg yolks
2 teaspoons vanilla extract
1/2 cup light brown sugar
Preheat oven to 300 degrees.
Heat cream over boiling water (in a double boiler) and stir in sugar. Beat the egg yolks until light and pour the hot cream over them gradually, stirring vigorously. Stir in the vanilla and strain the mixture into ramekins.
Place the dishes in a pan containing one inch of hot water and bake until a knife inserted in the center comes out clean, or 35 minutes. Do not over-bake. The custard will continue to cook from retained heat when it is removed from the oven. Chill thoroughly.
Before serving, cover surface with brown sugar. Set the dishes in a pan with cracked ice and put under the broiler until sugar is brown and melted. Serve immediately.
Serves 6-8.


