Veggie Stuffed Eggplant – Imam Bayeldi
Veggie Stuffed Eggplant - Imam Bayeldi

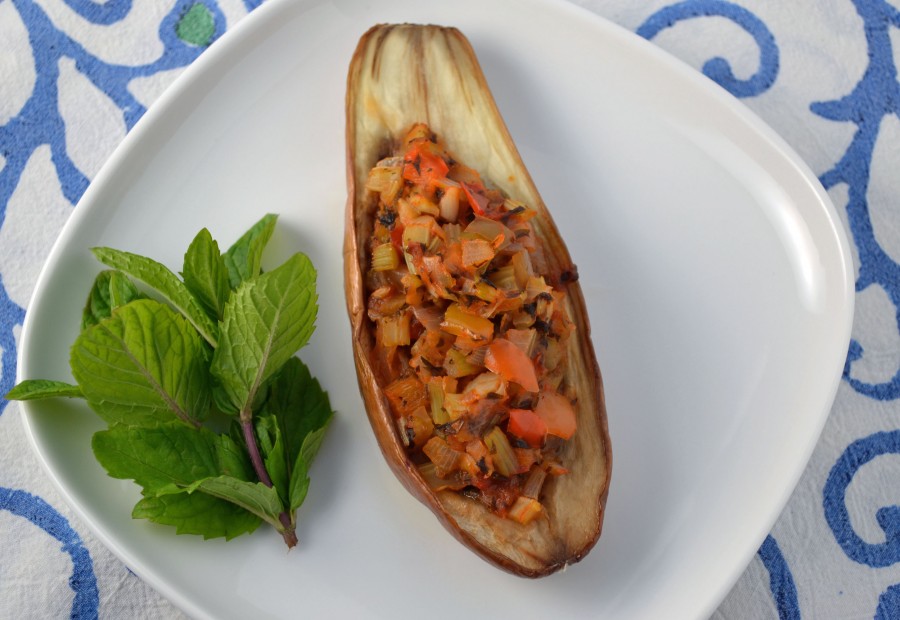
Stuffed EggplantCatching the tail end of eggplant the season, this eye-pleasing dish showcases the juicy late summer (or fall) vegan favorite. I previously posted a couple of my grandmother’s vegetarian dishes. Paula Peck was not known for cooking vegetables and when she did, there were often whole sticks of butter or cups of olive oil involved. As a veggie lover though, I’ve managed to revise some of these dishes so that the flavor is maintained, but with less fat. In this case, the eggplant is stuffed with a fragrant mixture of garlic, onion, celery, tomato puree and herbs. These flavors soak into the eggplant as it roasts with just enough olive oil to keep it moist. The resulting succulent meaty flesh will make you forget that you’re eating an almost guilt-free and healthy dish.

So what does this strange recipe title “Imam Byaldi” have to do with eggplant? Well according to my grandmother’s introduction to this recipe in “The Art of Good Cooking,” the old Armenian title means “’the Holy Man fainted’- of shock because the eggplant tasted so good!” Ok so nobody is going to faint when they eat this stuffed eggplant, but it is pretty tasty.

Ingredients:

4 small eggplants
1/3 cup olive oil
2 large onions, chopped
1 green pepper, chopped
6 cloves garlic, chopped
1 cup chopped celery
1/2 cup chopped celery leaves
1/2 cup chopped parsley
1/2 cup tomato puree
1/4 teaspoon crumbled bay leaf
1/2 teaspoon oregano
2 teaspoons chopped fresh mint
1/2 teaspoon sugar
salt and pepper to taste

Cut eggplant lengthwise into halves. Salt cut sides generously and let stand for about a 1/2 hour (this draws out the bitterness from the eggplant).

Preheat oven. Rinse eggplants and dry with paper towels. Brush cut sides with some olive oil. Place eggplants on a baking sheet, cut side up. Bake until centers are soft and lightly browned.

While the eggplants are baking, prepare the following stuffing: sauté onions, green pepper, celery, and garlic in remaining olive oil until vegetables are soft but not brown. Add chopped celery leaves and parsley. Stir until leaves are wilted, then add tomato puree and herbs. Add sugar then salt and pepper to taste. Cook a few more minutes. Set stuffing aside until needed.

When eggplants are tender, allow them to cool so they can be easily handled. Raise oven heat to 350 degrees.

With a small knife, make an incision lengthwise, down the center of the cut side, being careful not to cut all the way through the eggplant. With your fingers, press soft pulp away from the incision on the 2 long sides so that a good-sized hollow is formed. Fill the hollows with the prepared filling, using a spoon.

Arrange stuffed eggplants on the baking sheet. Sprinkle with additional olive oil if filling looks dry. Bake for 45 minutes, basting with olive oil as necessary.

Note: To speed up this recipe, cut eggplant 1/2 inch thick and after it has been baked until tender, place slices of eggplant in a casserole. Arrange them alternately with the stuffing. Bake 30-40 minutes.

Yum

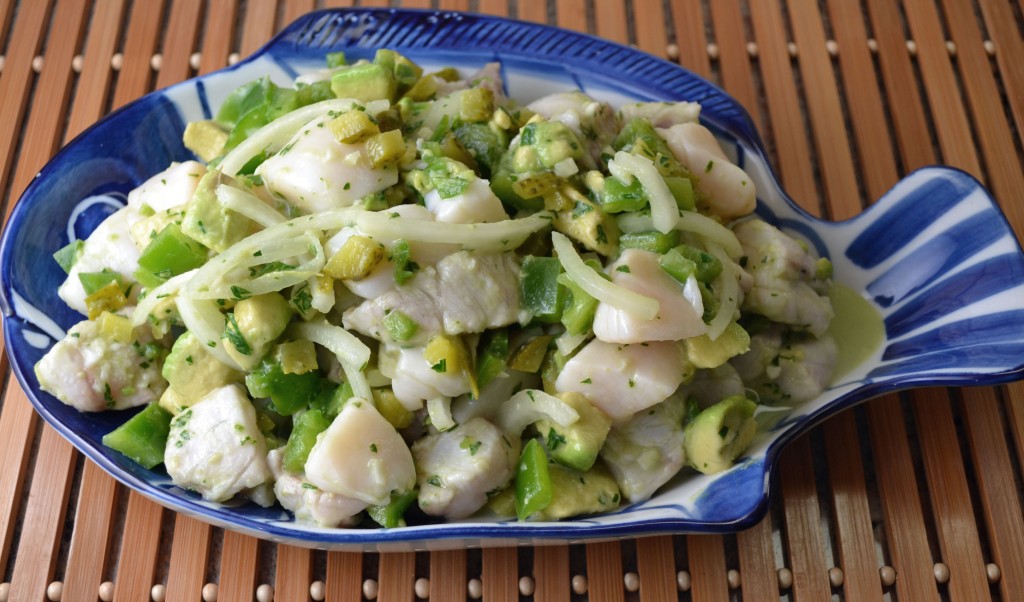
Ceviche

Best Ceviche Ever

Ceviche

Happy Cinco de Mayo!
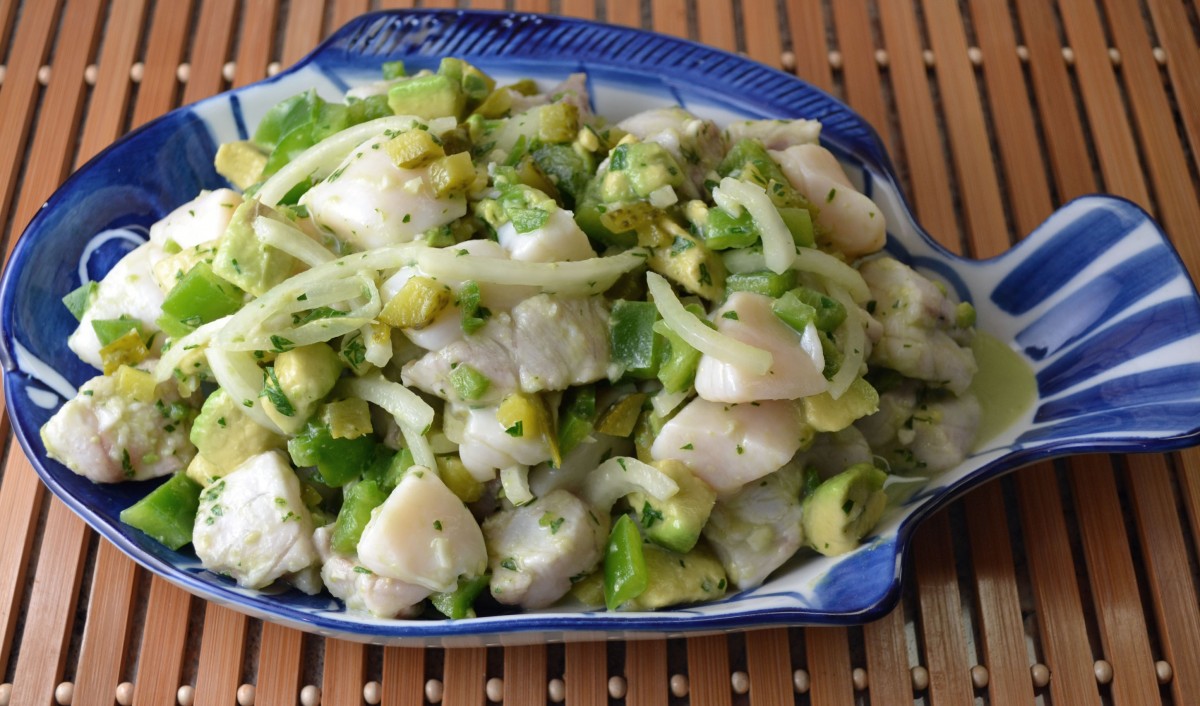
Those of us that like ceviche, usually love it. We recognize fresh fish as a special treat that requires so little cooking that the acid of lime juice can be used without any heat at all. This traditional Mexican dish is not only appropriate for this Cinco de Mayo holiday but also for spring – to get in the mood for summer.

I’ve written previously about my grandmothers exceptional Mexican recipes, many of which she learned while cooking in Mexico. This ceviche recipe definitely falls into that exceptional category. However, there are two very important aspects of this dish that can make or break it. The fish, which is marinated in lime juice for 3-4 hours, must be extremely fresh. Do not use frozen or anything that smells even the slightest bit fishy (ironically fresh fish should always have a clean smell, never fishy). Otherwise, you will be able to taste that fishiness all throughout the finished dish.

The other important aspect is the hot pepper. I recommend Serrano or even Jalapeño but as many of you may know, the heat of each pepper can vary. For this reason, stay away from using the seeds and add the pepper last, a little at a time, while combining and tasting.

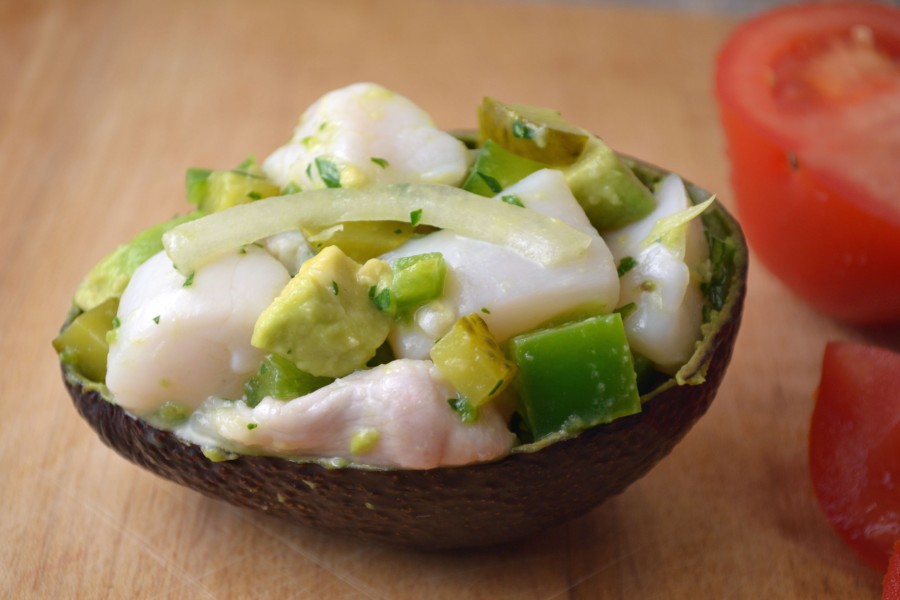
My grandmother served this ceviche (while it was a work in progress) at one of her many dinner parties with James Beard and Craig Claiborne. My father was the designated dishwasher for these parties and he could always tell if a particular dish was well-liked by the leftovers on the plates that came back in the kitchen. Despite the lovely plating (in red cabbage cups), the ceviche came back virtually untouched on every plate. It turns out the hot pepper she used was so spicy that it made the dish inedible. Needless to say, my grandmother was mortified. However, this happens to the best of us and she definitely perfected the ceviche after that incident (and before it was published in “The Art of Good Cooking”). It is now by far the best ceviche I’ve ever had.

Note: Any combination of fish maybe used. I prefer to use just scallops and fish and skip the shrimp but I’ve listed the fish proportions as noted in the cookbook.

Ingredients:

1/3 lb fresh bay scallops or sea scallops
2/3 lb shelled, cleaned shrimp
1/3 lb striped bass, halibut or other firm white fish
1 cup lime juice
1 onion, sliced
1 small green bell pepper, diced
1 small hot pepper, minced
2 cloves garlic, minced
2 cans pimentos, minced (optional)
2 teaspoons chopped fresh cilantro
2 cornichons or small dill pickles
salt and pepper to tast
1 teaspoon sugar
1/2 cup white vinegar
1 large avocado

Cut all seafood into tiny pieces. Combine in a bowl. Pour lime juice over seafood. Cover bowl and place in refrigerator for 3-4 hours or until seafood has changed color and looks cooked. Drain the lime juice from the seafood.

Combine all the remaining ingredients-except avocado- in a separate bowl. Taste. The mixture should be quite well seasoned-slightly sweet and spicy. Pour over drained seafood and toss well. Place in refrigerator till serving time. Before serving, peel and dice avocado. Combine with fish mixture.

Serves 6

Adapted from “The Art of Good Cooking.”

Ceviche Avocado Shell

Yum

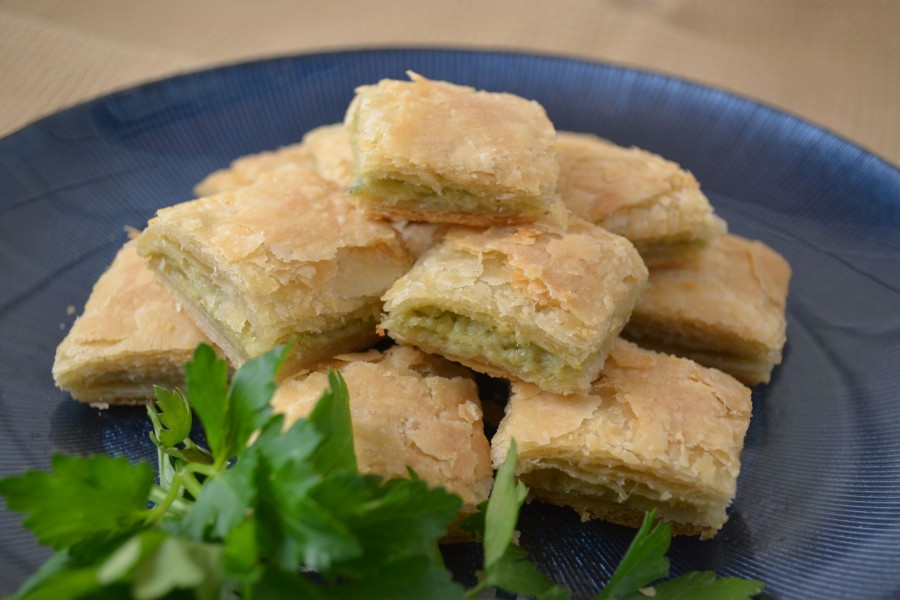
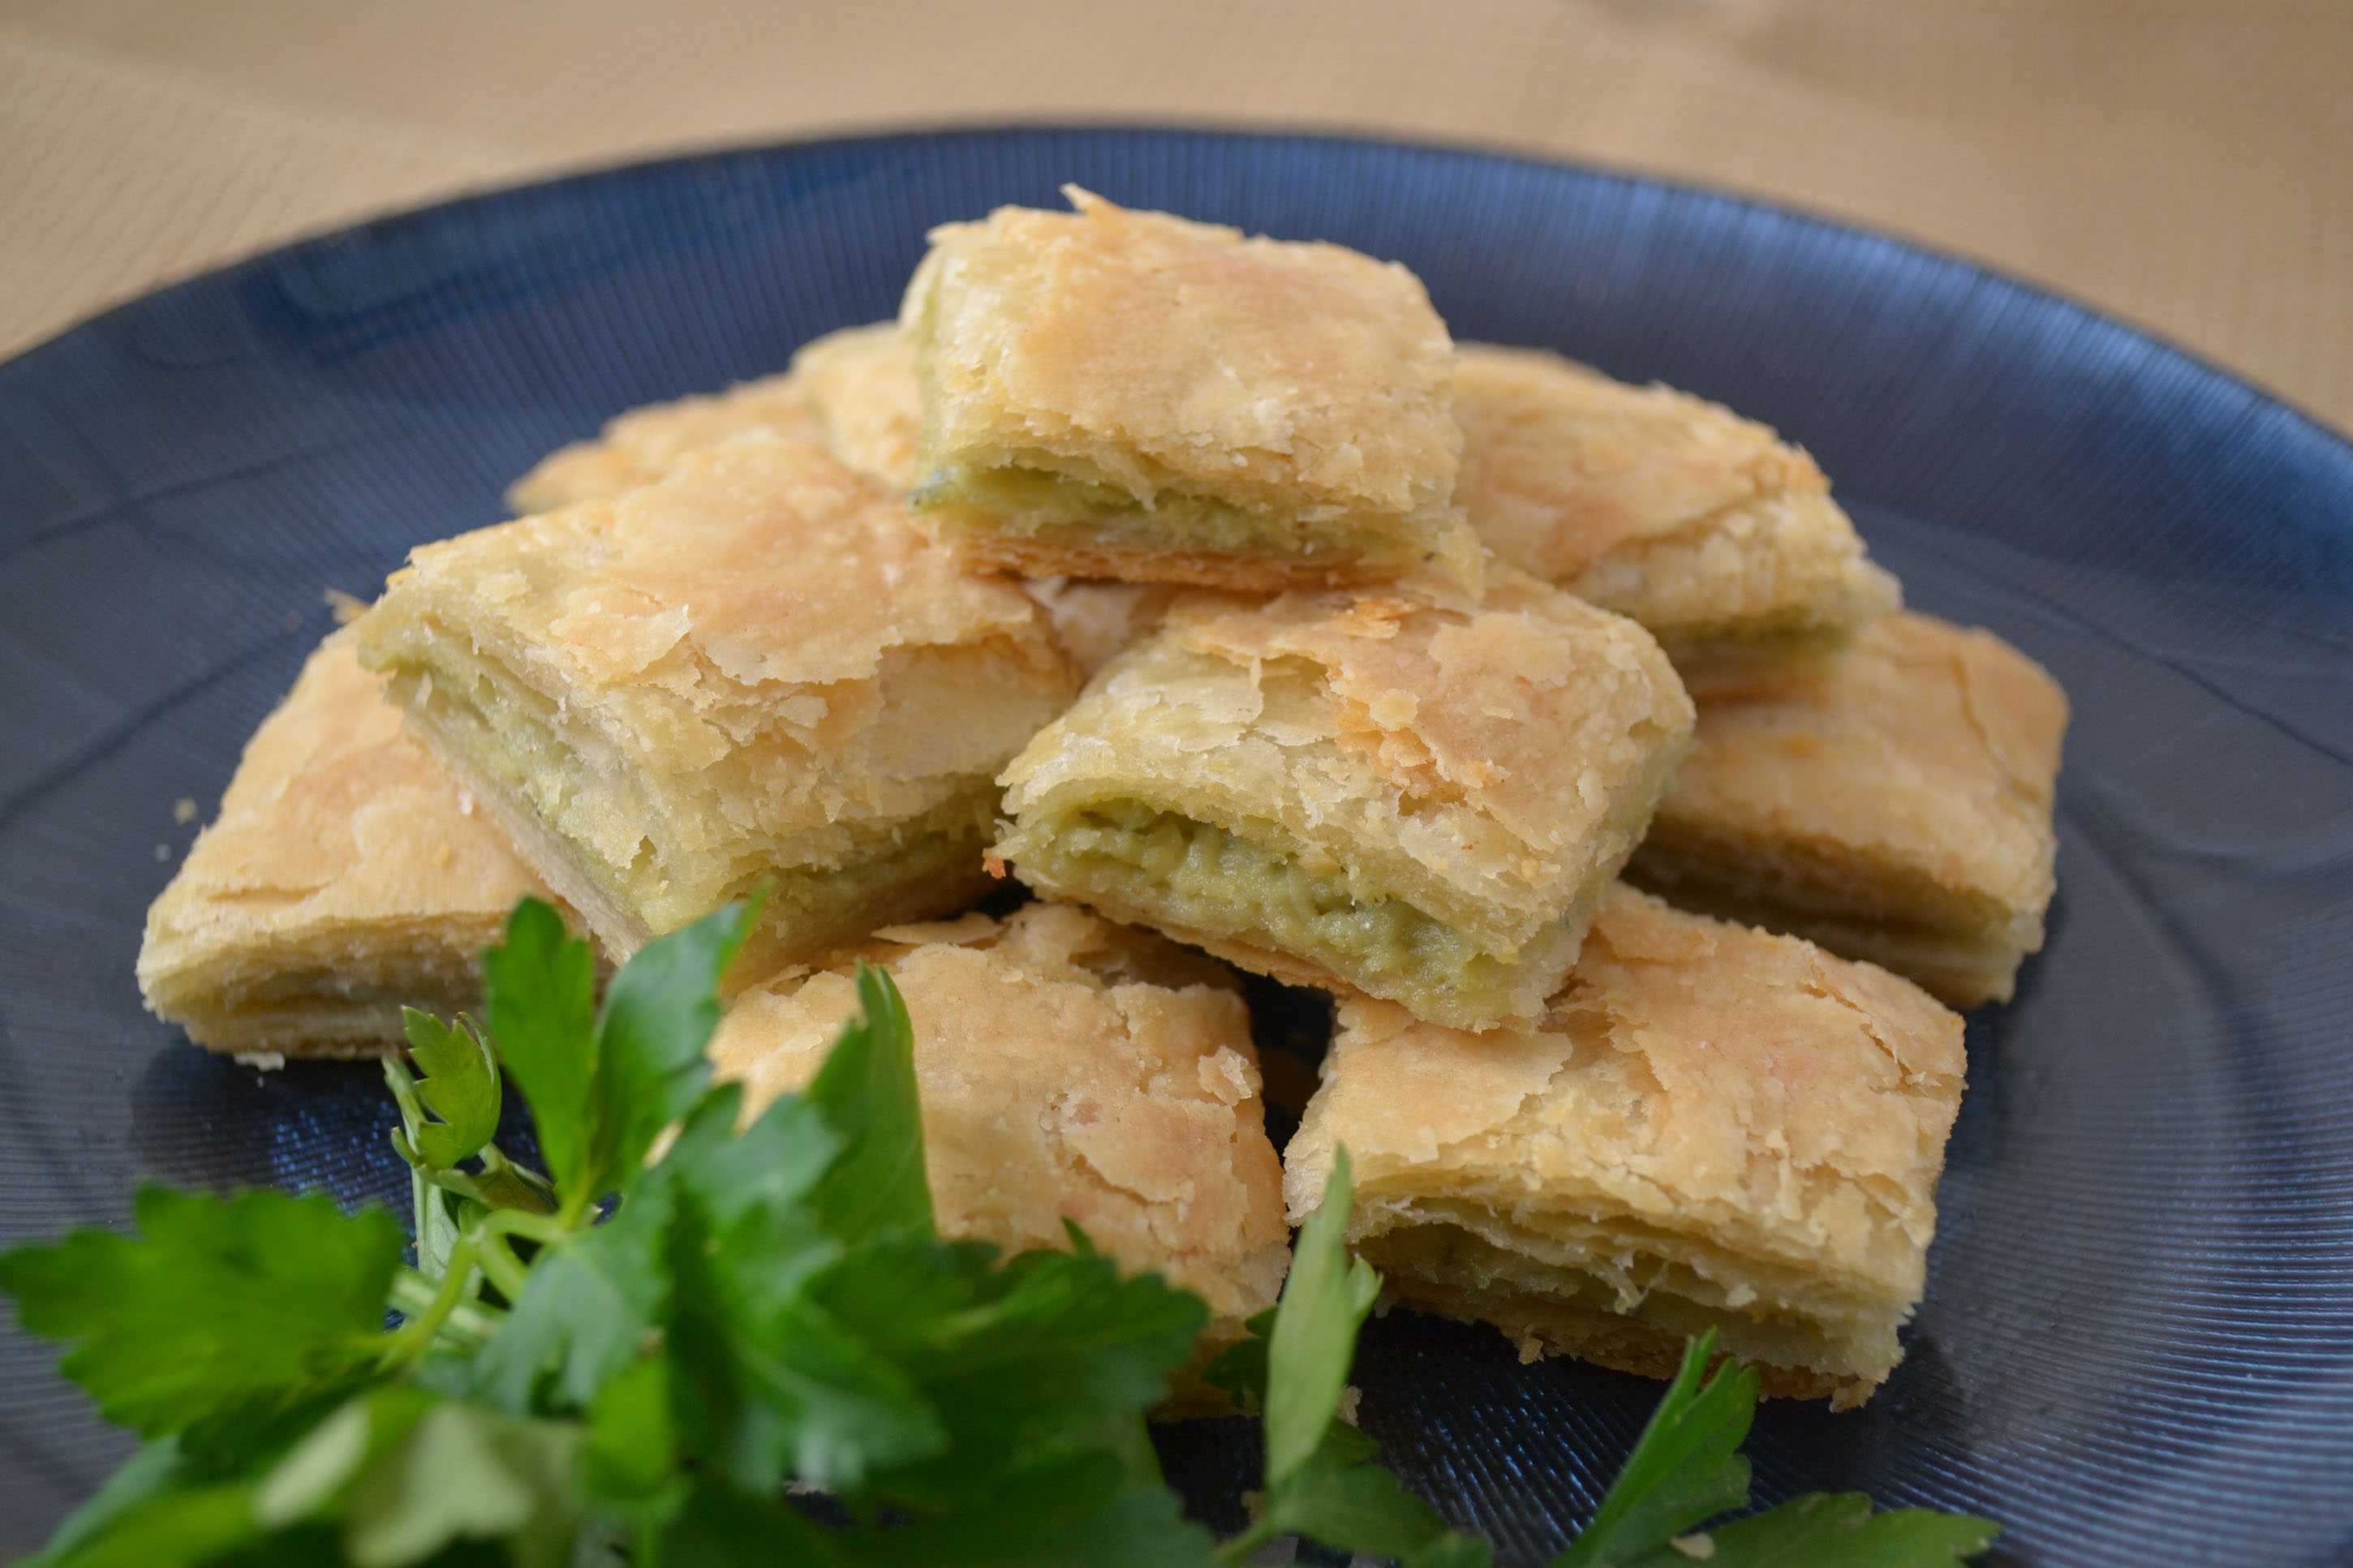
Roquefort Bars (or Blue Cheese Bites)

Roquefurt Bars

Roquefurt Bars (blue cheese bites)

Tucked away in the back of “The Art of Fine Baking” is an hors d’oeuvres section I keep finding myself coming back to. With recipes such as pizza pennies, potato puff sticks, and poppy seed straws, I always seem to find something interesting that I haven’t seen done before. Using puff pastry for a savory appetizer is somewhat foreign for me since as a dessert lover, I’m usually inclined to make something sweet or chocolatey. In this case, I happened to have some leftover puff pastry from my adventures in making puff pastry, so I set out to throw this quick appetizer together. If using store bought or pre-made puff pastry, this recipe couldn’t be easier. Roquefort or any blue cheese is combined with an egg yolk and a little cream, then spread on strips of puff pastry dough. The strips are then sandwiched together, baked, and simply cut into squares or rectangles. Served warm, the rich buttery taste of the flaky pastry and the sharp blue cheese is a decadence any party guests (perhaps the Superbowl?!) will definitely appreciate.

Ingredients:

1/2 puff pastry recipe or 1 sheet of frozen puff pastry, thawed
2/3 cup roquefort or blue cheese of your choice
1 egg yolk
1 teaspoon chopped parsley
1/4 teaspoon white pepper
1 to 2 tablespoons heavy cream

Preheat oven to 350 degrees.

To make the cheese filling: cream together cheese, egg yolk, chopped parsley, and pepper. Add 1-2 tablespoons heavy cream or just enough to make the mixture spreadable.

If using homemade puff pastry, roll out puff pastry dough to less than 1/8 inch thick and trim edges.

Divide sheet of puff pastry into strips 2 1/2 inches wide. Spread half the strips thinly with cheese filling. Cover filling with remaining strips of pastry.

Place on baking sheet lined with parchment paper. Chill 30 minutes. Bake 50-60 minutes or until pastry is golden brown. Cool slightly. Trim edges and cut into rectangles or squares.

Yield: Approximately 2 dozen


Yum

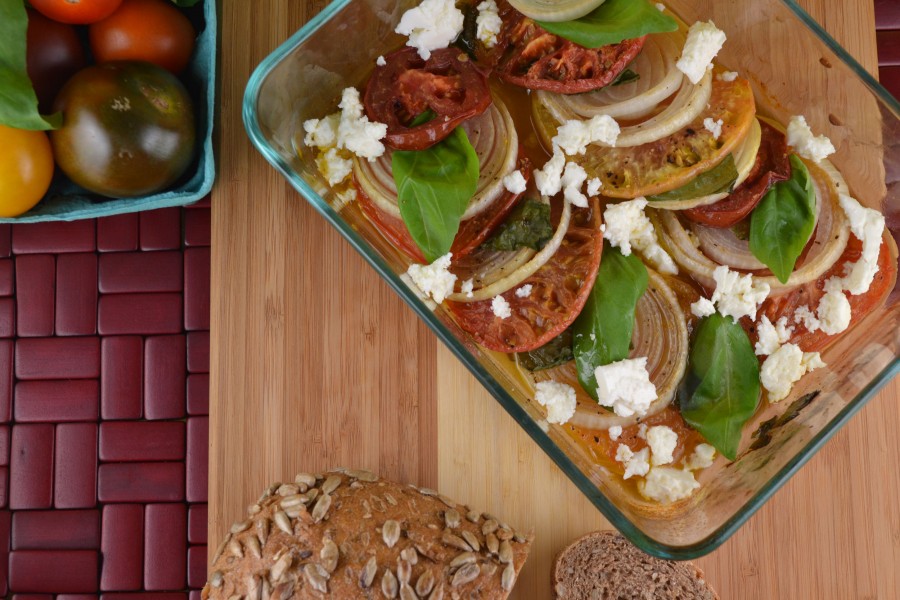
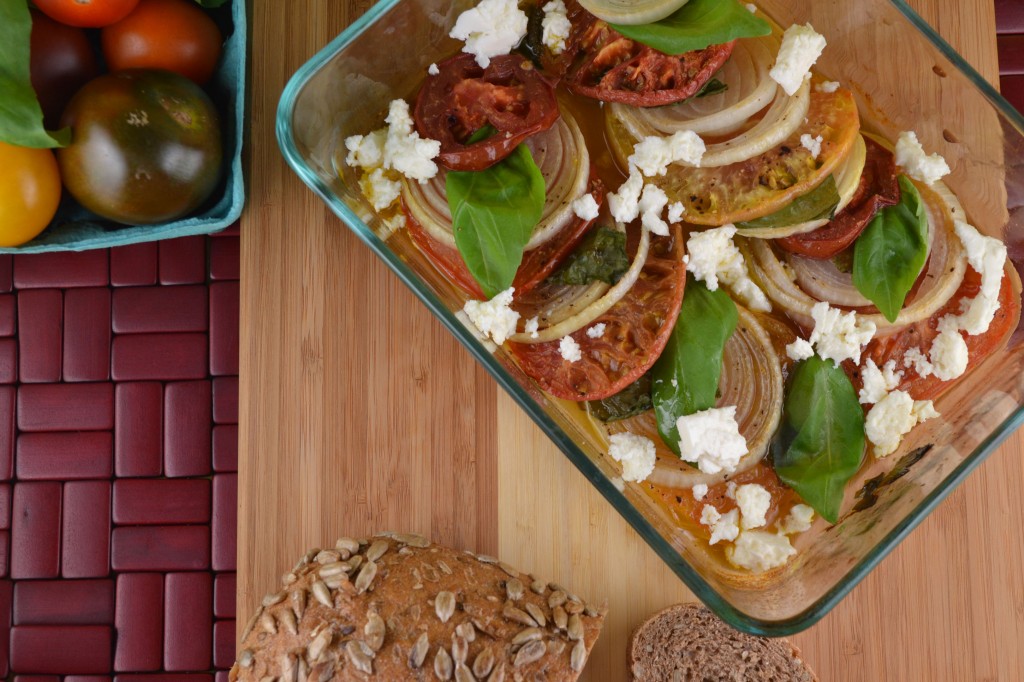
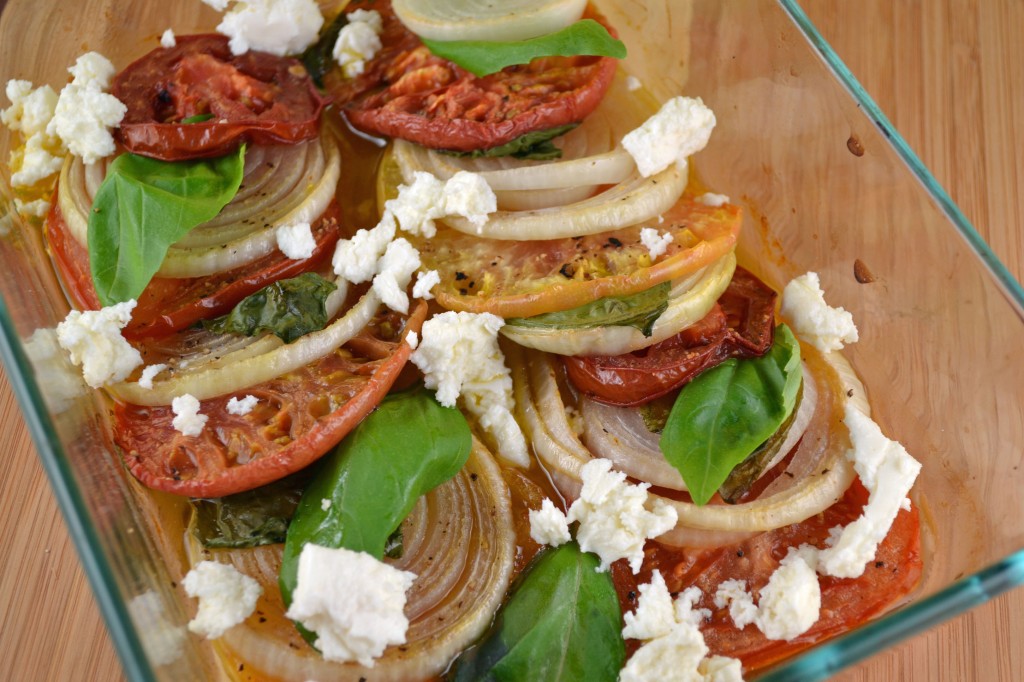
Baked Heirloom Tomatoes and Onions

Baked Heirloom Tomatoes and Onions

You may be looking at this photo and thinking this dish is leftover from summer, that this was taken in mid-August when Tomatoes are supposed to be at their peak. I actually found these fabulous heirloom tomatoes in all different sizes prominently displayed at one of the busiest whole foods in the country here in NYC this week. And at summer prices. Pumpkins and apples are definitely here (though still on the expensive side) but let’s use up the best of summer before jumping into fall.
I was surprised by both the simplicity and tastiness of this dish from “The Art of Good Cooking.” I added some fresh herbs like basil, parsley, and thyme both before and after baking. I then sprinkled the whole dish with fresh feta cheese and served it on slices of a toasted seeded grain bread. A healthy and light appetizer or lunch reminiscent of those dog days of summer and the colorful produce it brings.

2 large spanish onions
salt and pepper
2-3 tablespoons extra virgin olive oil
2-3 large heirloom tomatoes
1 sprig fresh thyme
8 fresh basil leaves
2 tablespoons chopped parsley
1 tablespoon capers (optional)
feta cheese for sprinkling (optional)
1 loaf rustic grain or rye bread, sliced (optional)

Preheat oven to 375 degrees.

Peel onions and slice about 1/4 inch thick. Place onions in baking dish and season with salt and pepper. Drizzle a little olive oil over each slice. Cut tomatoes in slices. Place a slice of tomato on each slice of onion. Or, stagger slices, alternating onion and tomato. Drizzle with remaining olive oil and season with salt and pepper. Lay 4-5 basil leaves across the top or sandwich them between the tomato onion layers. Place a sprig of thyme between the 2 rows of layers.

Bake about 45 minutes or until onions are tender and tomatoes are wrinkled. Baste occasionally with additional oil if needed.

Remove from oven and garnish with remaining basil leaves, chopped parsley, capers (if using) and sprinkle with feta cheese.

Serve warm or at room temperature on toasted slices of rustic grain or rye bread.

Serves 6.

Adapted from “The Art of Good Cooking,” By Paula Peck.

Yum

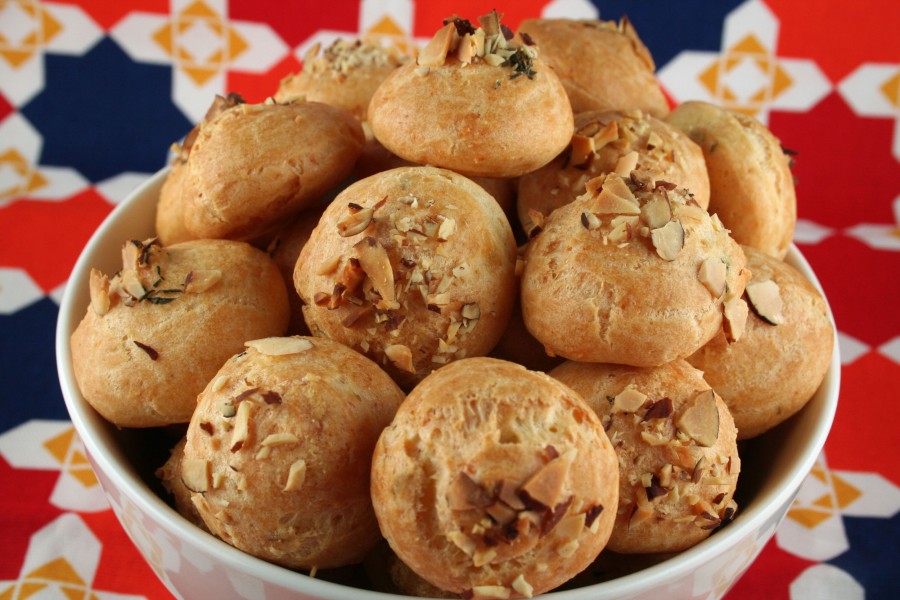
Gougeres

Gougeres/Cheese Puffs

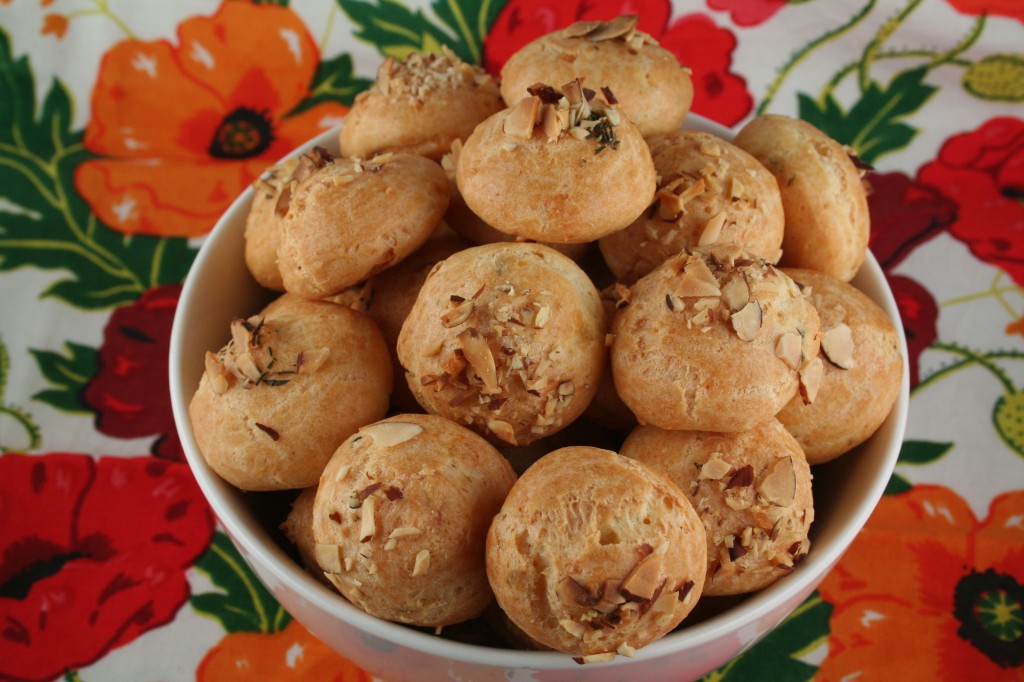
Classic cheese puffs or French gougeres are always a delicious addition to any meal. Unfortunately, like cream puffs (same pate a choux batter base), these are scrumptious shortly after coming out of the oven but barely edible the next day. The recipe as written in The Art of Fine Baking lacked the strong cheese flavor I craved from these light puffed morsels. I ended up using an incredible amount of cheese, double the amount in the original recipe. Plus I added Parmesan for an additional punch and a pinch of cayenne and paprika for a little zip. Of course, I then had to take it one step further and add a fresh herb. A sad bunch of thyme happened to be sitting in my fridge, waiting to be used, so I added it to the almond Parmesan sprinkle before baking. The rich smell that wafts through your kitchen while these sharp cheesy nutty bites bake, is almost worth it in itself.

A note about the baking time for this recipe: unlike cream puffs, you do not want to bake these until they dry out in the center. These should be removed from the oven within 5 minutes of barely turning a light golden brown.

1/4 cup (4 oz) unsalted butter, cut in small pieces
1 cup water
1 cup sifted flour
3/4 teaspoon salt
4 eggs
1 1/4 grated gruyere cheese
1/2 cup Parmesan cheese
1/4 cup sliced almonds, chopped
2 tablespoons thyme, chopped
1 teaspoon kosher salt

Preheat oven to 375 degrees.

Combine butter and water in saucepan. Cook over medium heat until butter is melted and mixture is boiling. Turn heat to very low. Add flour mixed with salt all at once. Stir vigorously until a ball forms and does not stick to the pan. Stir over heat another minute or two to slightly dry out. Remove from heat and transfer to a clean bowl. Allow to cool 1 minute.

Add eggs, one at a time, beating hard after each addition. The final egg should beaten with a fork and added gradually to ensure the right consistency. Batter should be just stiff enough to stand at a peak when a spoon is withdrawn or if a finger is run through it, the channel fills in slowly. Sometimes it’s necessary to add slightly less or even one more egg depending on the dryness of the flour and the temperature of the room.

Beat all but a 1/4 cup of cheese into pate a choux batter. Combine nuts, thyme, and remaining cheese in a small bowl. With a pastry bag or spoon, form small high mounds on parchment paper lined baking sheet. Sprinkle nut cheese mixture on top. Bake about 35 minutes or until puffs are lightly golden brown and there are no beads of moisture showing. Serve warm.

Yum

1 2 3 4