Gougeres

Gougeres/Cheese Puffs

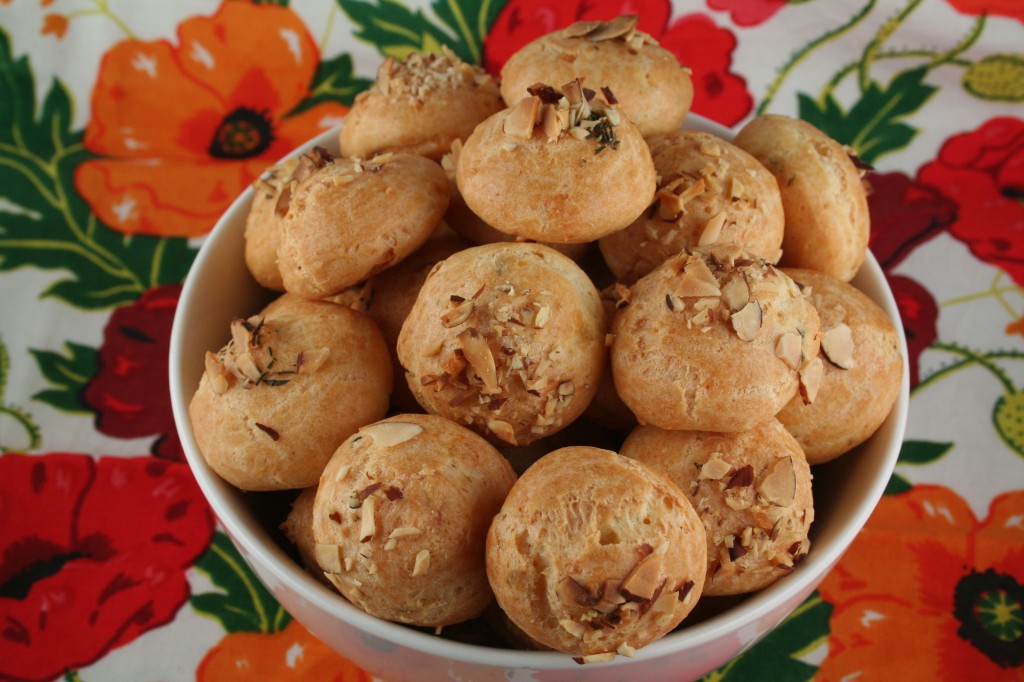
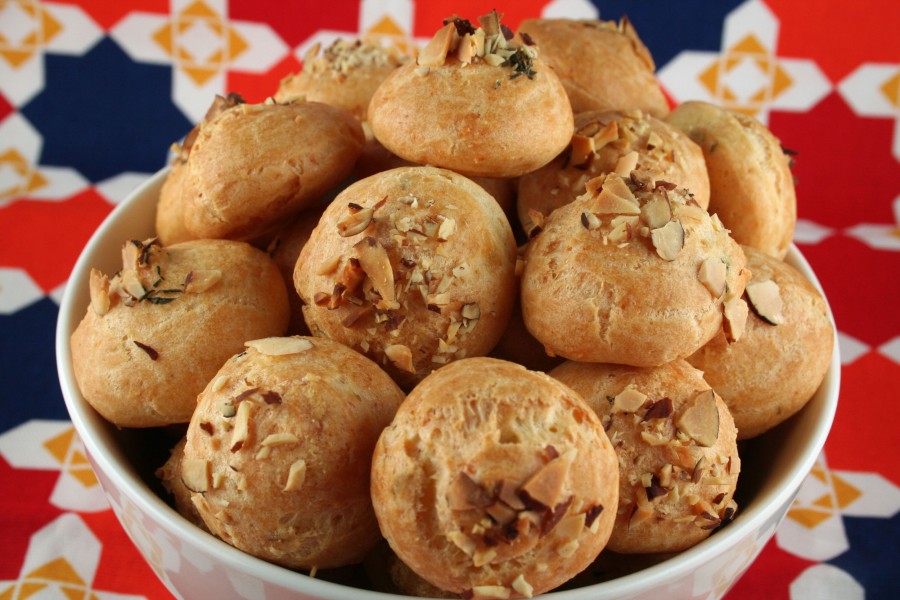
Classic cheese puffs or French gougeres are always a delicious addition to any meal. Unfortunately, like cream puffs (same pate a choux batter base), these are scrumptious shortly after coming out of the oven but barely edible the next day. The recipe as written in The Art of Fine Baking lacked the strong cheese flavor I craved from these light puffed morsels. I ended up using an incredible amount of cheese, double the amount in the original recipe. Plus I added Parmesan for an additional punch and a pinch of cayenne and paprika for a little zip. Of course, I then had to take it one step further and add a fresh herb. A sad bunch of thyme happened to be sitting in my fridge, waiting to be used, so I added it to the almond Parmesan sprinkle before baking. The rich smell that wafts through your kitchen while these sharp cheesy nutty bites bake, is almost worth it in itself.

A note about the baking time for this recipe: unlike cream puffs, you do not want to bake these until they dry out in the center. These should be removed from the oven within 5 minutes of barely turning a light golden brown.

1/4 cup (4 oz) unsalted butter, cut in small pieces
1 cup water
1 cup sifted flour
3/4 teaspoon salt
4 eggs
1 1/4 grated gruyere cheese
1/2 cup Parmesan cheese
1/4 cup sliced almonds, chopped
2 tablespoons thyme, chopped
1 teaspoon kosher salt

Preheat oven to 375 degrees.

Combine butter and water in saucepan. Cook over medium heat until butter is melted and mixture is boiling. Turn heat to very low. Add flour mixed with salt all at once. Stir vigorously until a ball forms and does not stick to the pan. Stir over heat another minute or two to slightly dry out. Remove from heat and transfer to a clean bowl. Allow to cool 1 minute.

Add eggs, one at a time, beating hard after each addition. The final egg should beaten with a fork and added gradually to ensure the right consistency. Batter should be just stiff enough to stand at a peak when a spoon is withdrawn or if a finger is run through it, the channel fills in slowly. Sometimes it’s necessary to add slightly less or even one more egg depending on the dryness of the flour and the temperature of the room.

Beat all but a 1/4 cup of cheese into pate a choux batter. Combine nuts, thyme, and remaining cheese in a small bowl. With a pastry bag or spoon, form small high mounds on parchment paper lined baking sheet. Sprinkle nut cheese mixture on top. Bake about 35 minutes or until puffs are lightly golden brown and there are no beads of moisture showing. Serve warm.

Yum

Frozen Raspberry Mousse

Frozen Raspberry Mousse

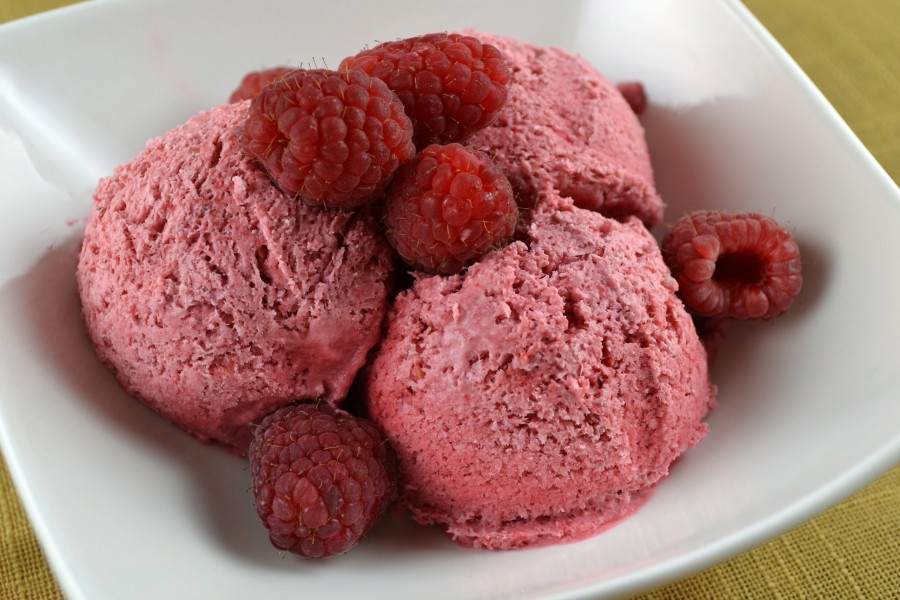
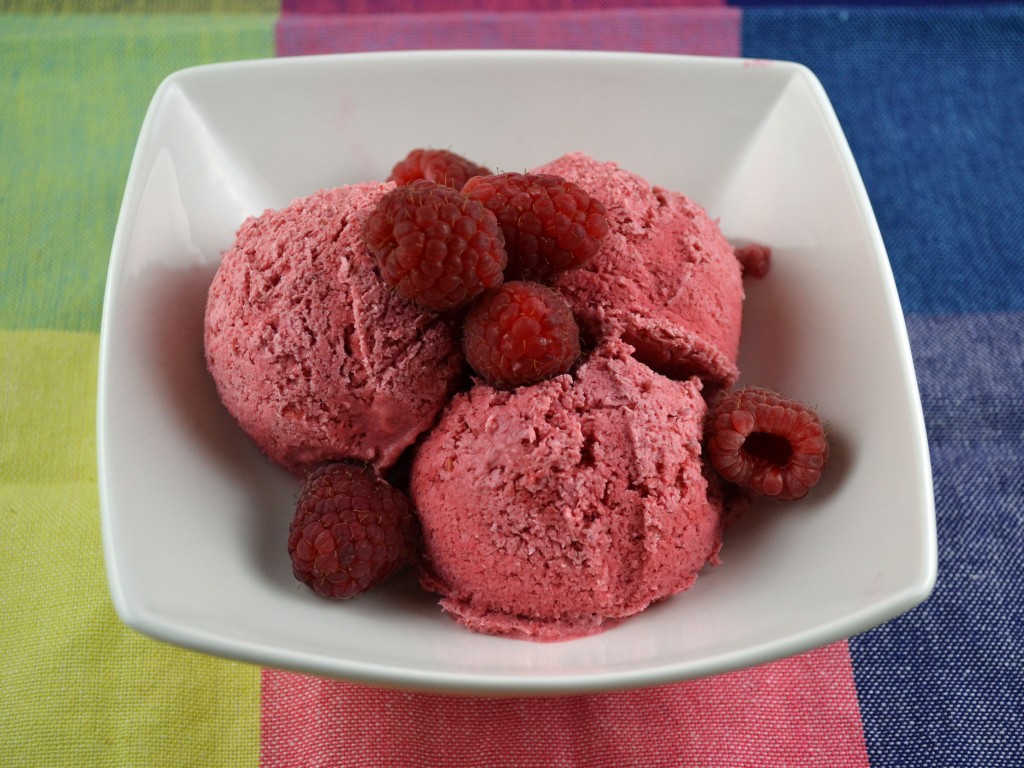
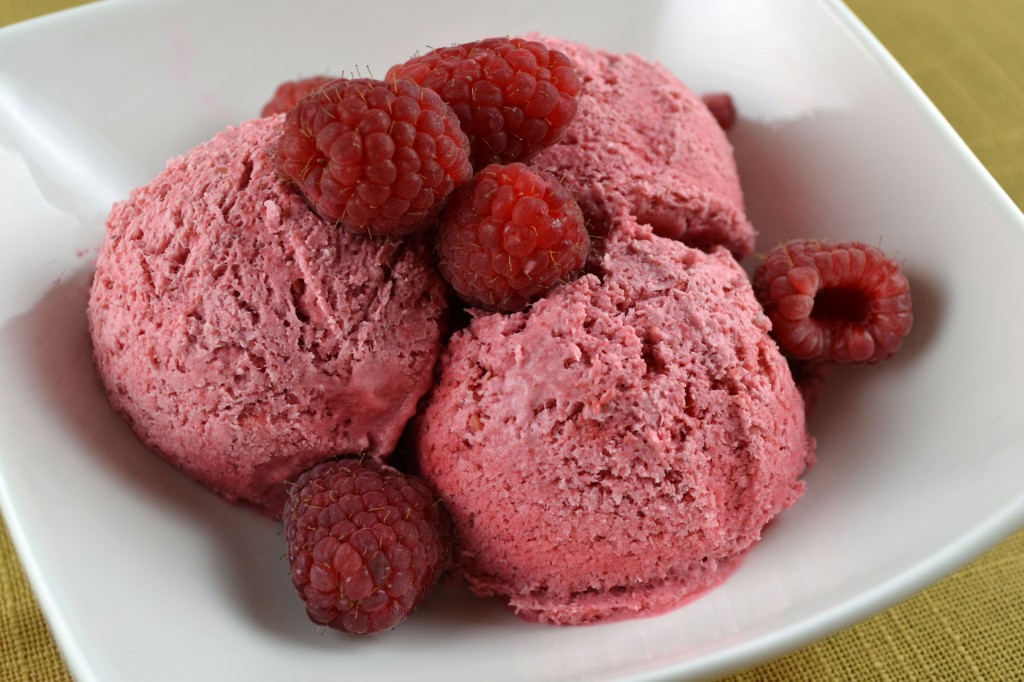
Don’t let the photo deceive you. This is not ice cream despite what you maybe thinking. At least not conventional ice cream (it is afterall, a form of iced cream, literally). No ice cream maker needed for this bright mousse made with fresh or frozen (more affordable) raspberries. Easily summed up with 5 ingredients and though the final texture is more icy and less creamy than I would normally want in a mousse, I keep going back for more. The tang of the raspberries is balanced by the richness in the cream and the kirsch or framboise ensures the mousse doesn’t harden too much in the freezer. As summer comes to a close, this quick mousse is a reminder of light refreshing desserts as the heavier fall pies and cobblers begin to takeover.

1 cup raspberry puree (1-2 packages frozen raspberries or 2-3/6 oz packages fresh raspberries, pureed and sweetened to taste with 1-2 tablespoons confectioners sugar; seeds discarded)
2 tablespoons framboise or kirsch
2 egg whites
pinch of salt
2 tablespoons granulated sugar
2 cups heavy cream, whipped

Combine raspberry puree with framboise or kirsch. Beat egg whites with salt till they are stiff. Beat in sugar, a little at a time, and continue beating till whites are very firm. Fold whipped cream and stiffly beaten egg whites together. Fold in raspberry puree. Pour into a bowl which can be placed in the freezer. Cover and freeze in freezer until mixture is firm.

Serves 6.

Yum

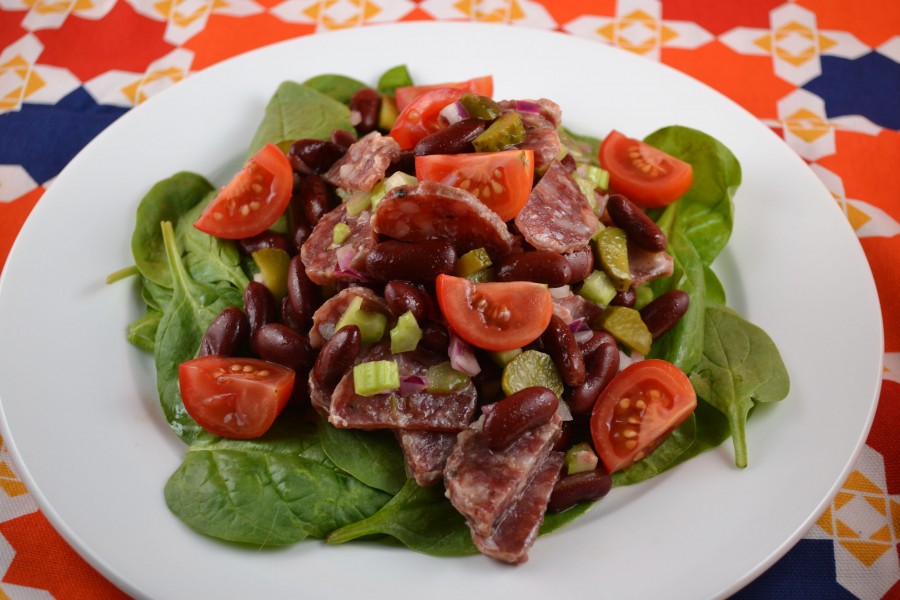
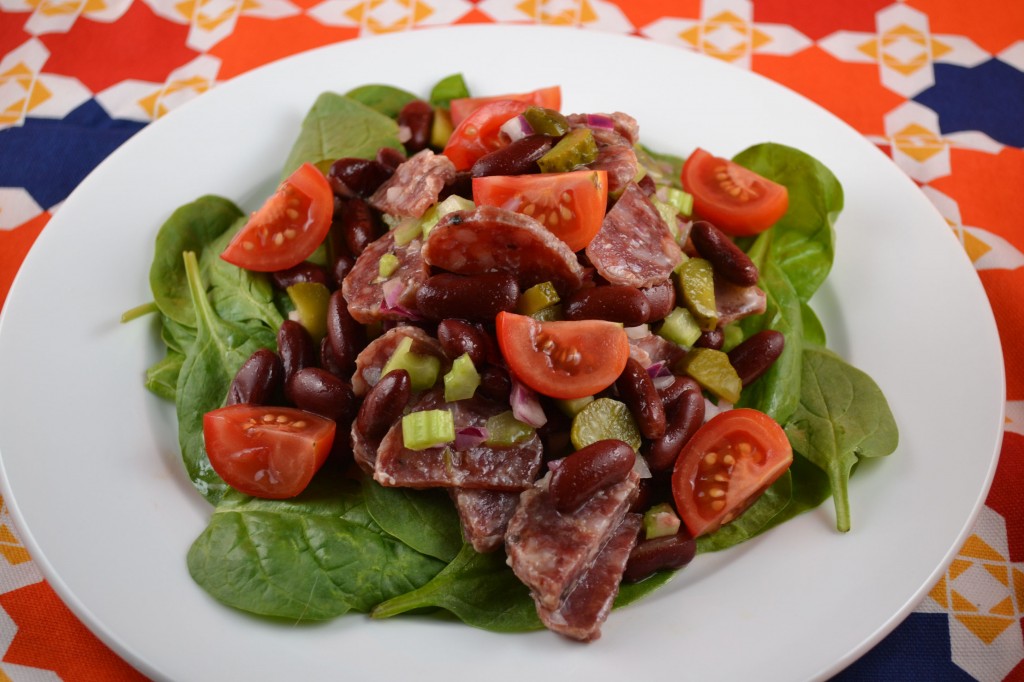
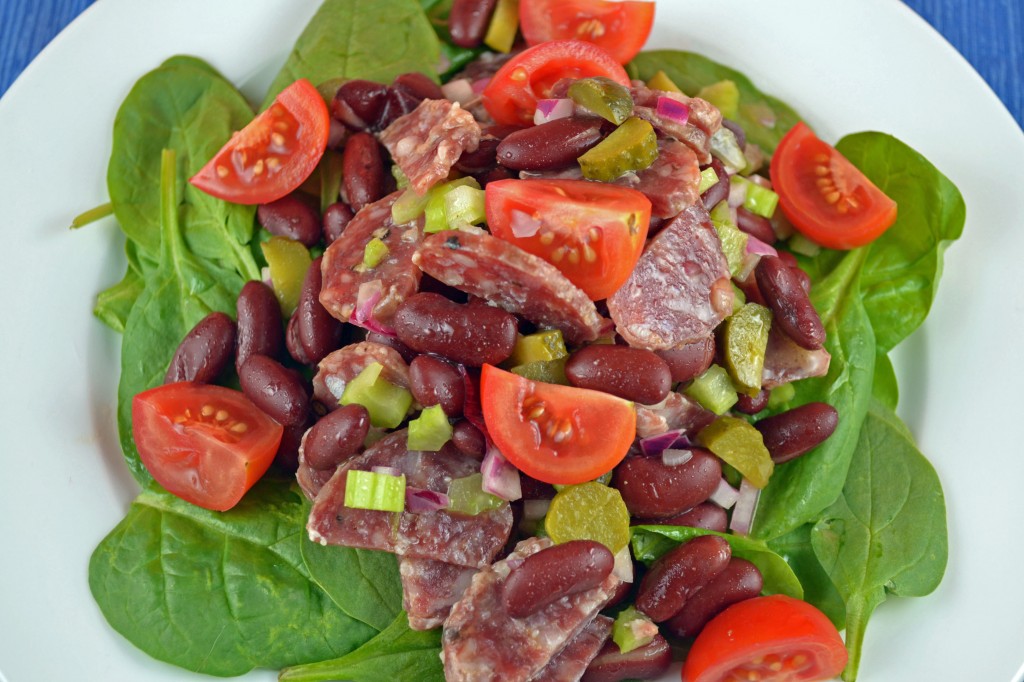
Red Bean and Sausage Salad

Red Bean and Sausage Salad

 A hearty protein filled salad that promises to keep you full. Red bean and Sausage Salad is an unpublished Paula Peck recipe that includes just the right combo of fat and acidity to make it an antipasto like satisfying addition to any meal or greens.
Though the recipe recommends salami, any cured sausage may be used. I happened to have an Olli salami on hand which is part of a high end artisinal salami line made using old fashioned family recipes (how appropriate!). This recipe is flexible and the sweet pickles and kidney beans provide the right balance to work well with just about any variation of sausage or greens.

Ingredients:

2 1/2 cups cooked kidney beans
1 lb salami or other cooked sausage, sliced
1 cup finely chopped celery
1/2 cup chopped sweet pickles
1/4 cup chopped parsley
1/2 cup chopped red onion
1 tomato diced or a handful of grape tomatoes, halved
1/2 cup olive oil
1/4 cup red wine vinegar
1 tablespoon dijon or spicy mustard
salt and freshly ground pepper to taste

Combine the first seven ingredients in a bowl. Allow to stand while you make dressing. Combine oil, vinegar, mustard, salt, and pepper in a container with a lid. Close container and make sure it is well sealed. Shake vigorously for about 30 seconds to blend and thicken. Pour over salad and season to taste. Serve on spinach or other fresh greens.

Serves 6.

Yum

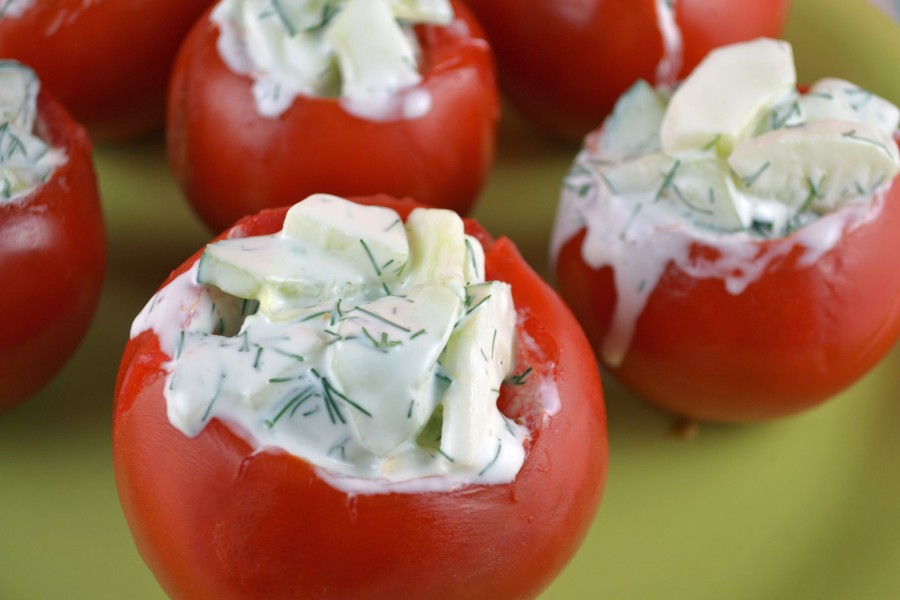
Tzadziki Stuffed Tomatoes

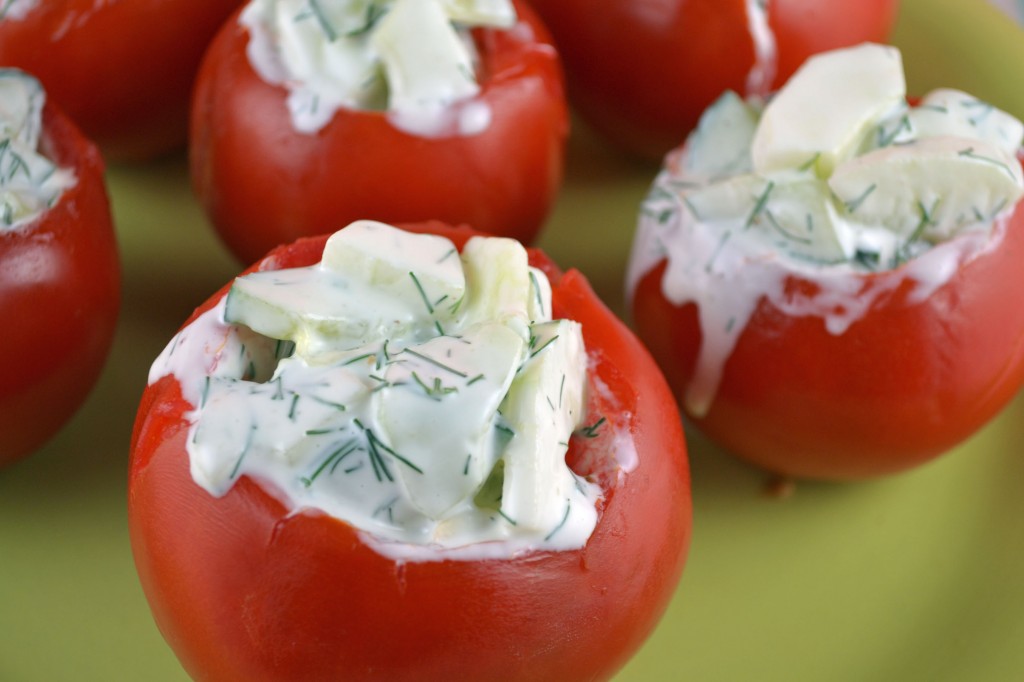
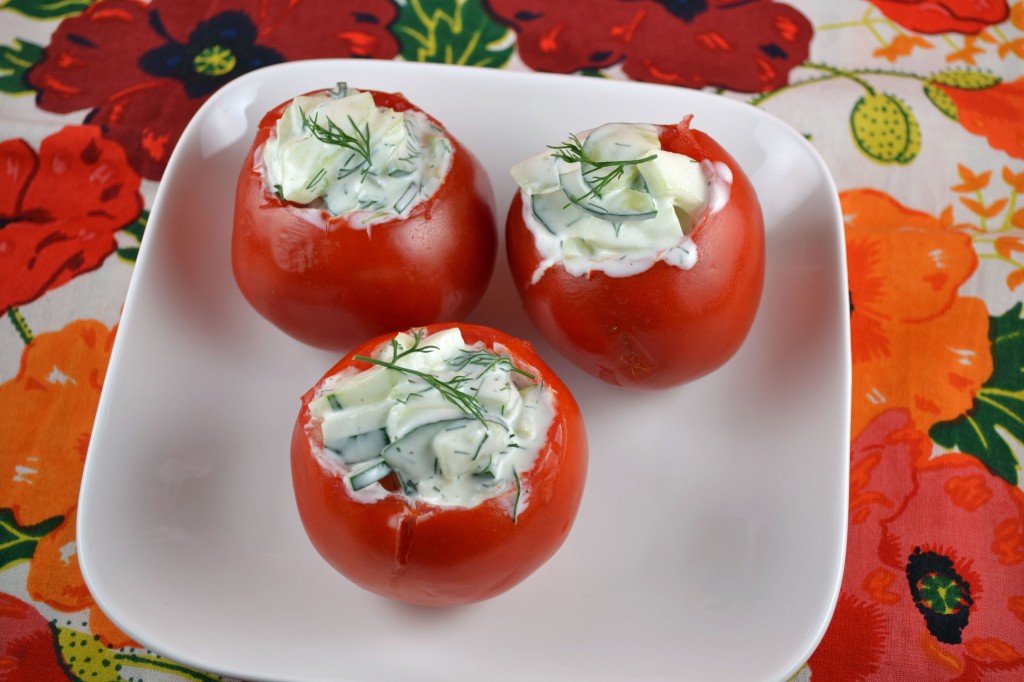
The original title of this recipe from “The Art of Good Cooking” is Danish Stuffed Tomatoes. However, when I tried to research this recipe, I found little on what makes them “Danish.” I decided to lighten the stuffing by using yogurt, making it more about the cucumbers and less about the overbearing amount of sour cream and mayo originally used. It now maybe considered more Greek than Danish since the stuffing is more of a basic tzadziki. Creamy yogurt, garlic, and dill brighten the cucumbers that then add crunch to the soft juicy ripe tomatoes.
This is a tasty little no bake/cook seasonal appetizer or side dish that presents beautifully.

2 hothouse cucumbers
2 teaspoons salt
1 teaspoon sugar
1 teaspoon cracked pepper
1 small garlic clove, minced
1 ½ tablespoons lemon juice
2 cups lowfat yogurt or greek yogurt
2-3 tablespoons chopped dill
6 vine ripe tomatoes

Peel cucumbers and cut in half lengthwise. With a spoon, scoop out seeds and discard them. Slice cucumbers thin. Place in a bowl, sprinkle with salt and place in refrigeration for at least 2 hours. Pour off water which has accumulated and press out any additional water so that cucumbers are dry. Add sugar and pepper and stir.

Combine garlic, yogurt, and lemon juice. Pour over cucumbers and toss lightly, adding half of the dill. Place in refrigerator until needed.

Remove a circle from the stem ends of the tomatoes. Carefully scoop out all the seeds and pulp. Turn the tomato shells upside down on paper towels so that any juice may drain.

Stuff each tomato with the cucumber mixture. Sprinkle remaining dill on top of each tomato.

Serves 6

Adapted from “The Art of Good Cooking.”

Yum

Frozen Strawberry Cream Torte

Frozen Strawberry Tort Sliced

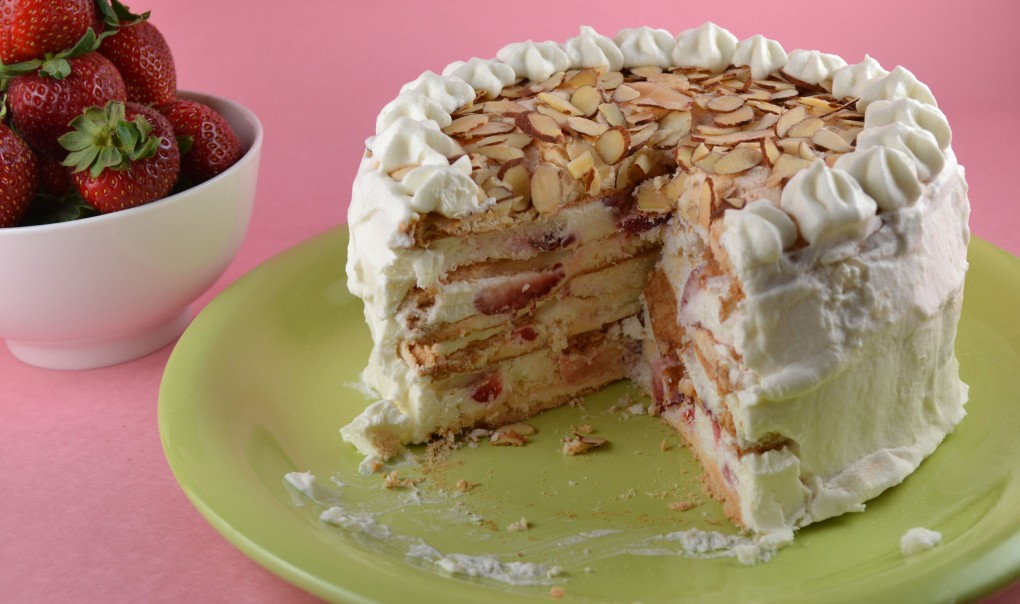
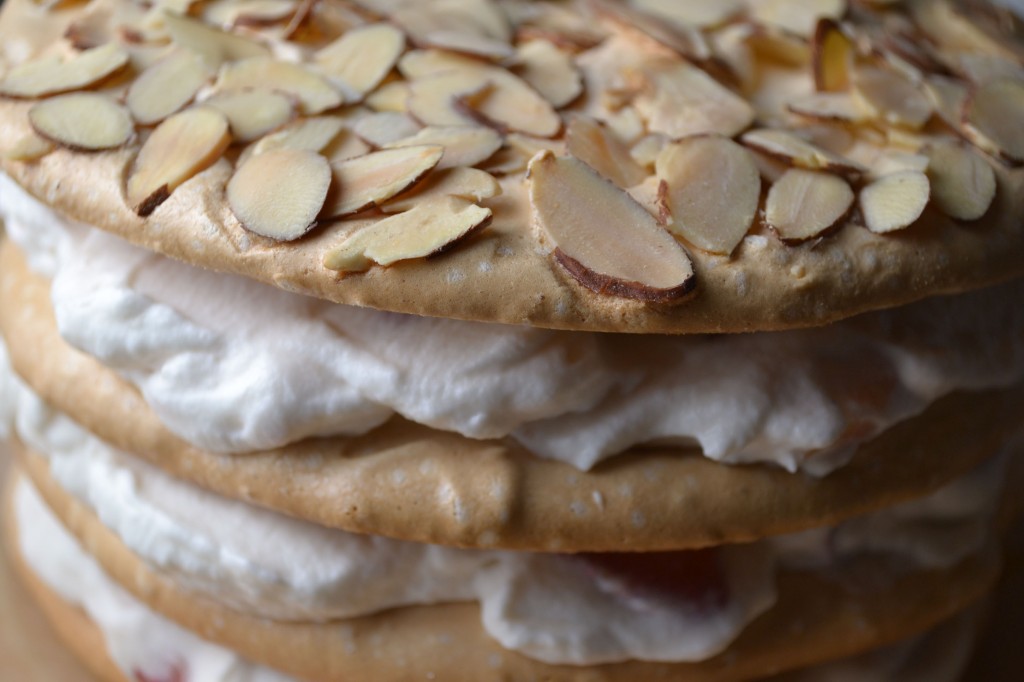
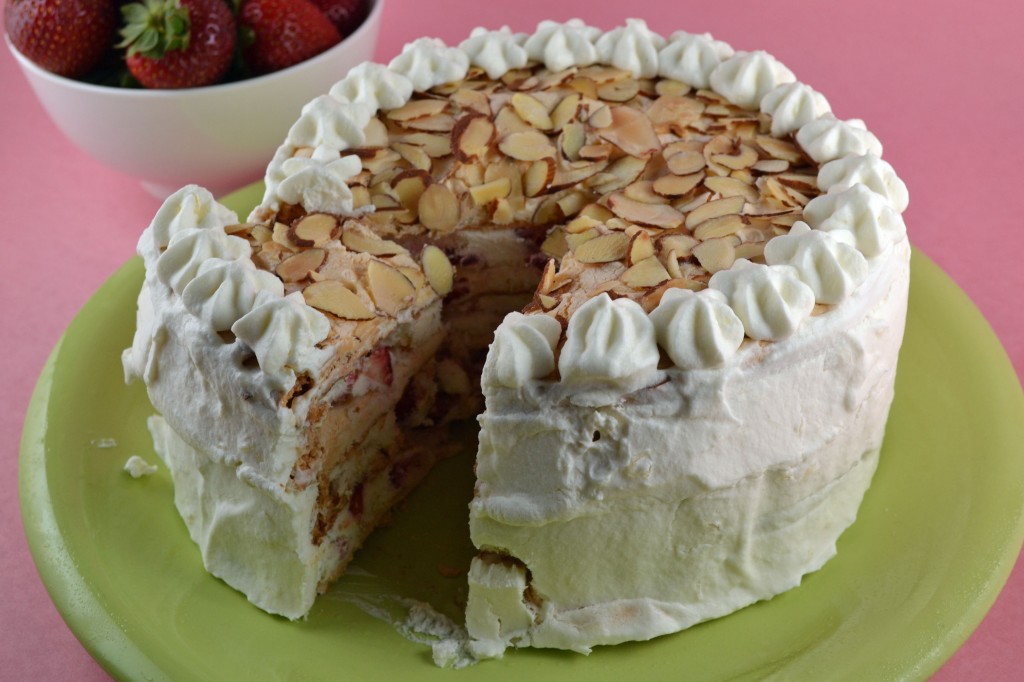
Few Paula Peck desert recipes really lend themselves to Summer. A couple of fruit tarts, a mousse or two, and a few fruit tortes are summery as is without modification. Maybe because she spent most summers in France, renewing her tastes and inspirition or maybe she just didnt bother much with the heat of baking in a hot humid Manhattan building before AC was a regular commodity. Whatever the reason, this frozen torte is part of this small exclusive group of her summer desert recipes. Not exactly quick or easy, if meringue is foreign to you, but the construction is fairly simple and the finished torte is impressive. There are two methods used in the original recipe for which I have strong opposing feelings. The first is the suggested baking time of the meringue to ensure it doesn’t brown. Though technically incorrect, in my opinion the baking time for meringues takes long enough without having to worry about making sure it maintains pure white and doesn’t brown. In this particular instance, I don’t mind if the meringue is slightly tan on top. It speeds up the baking/drying process and has little effect on the taste.
The second method, which I agree with, is adding gelatin to whipped cream. This works well to stabilize whipped cream if using it like a frosting, which in itself is an interesting technique that I’m not quite used to. Substitute powdered agar-agar or vegetarian gelatin for vegetarians.
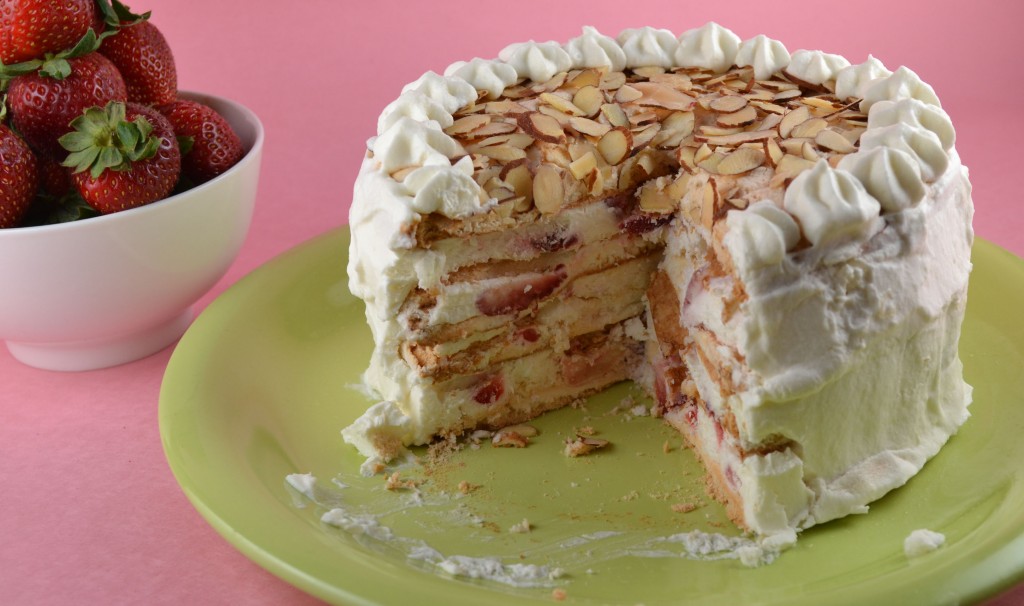
A last point that needs to be emphasized is to serve the torte frozen. It just doesn’t taste the same when it begins to thaw. A finished frozen slice should taste creamy and light, like strawberry shortcake and meringue cookies smashed together in a giant sandwich then hidden beneath a layer of silky cream and frozen to combine the textures into a cool summer treat.

Swiss Meringue

5 egg whites
1/4 teaspoon cream of tartar
1/4 teaspoon salt
1 teaspoon vanilla extract
1 1/4 cup sugar
1/2 cup blanched sliced almonds
2 1/2 cups heavy cream, whipped with 2 tablespoons sugar and dissolved gelatin (see note)
1 cup fresh strawberries, sliced

Sprinkle strawberries with 1/4 cups sugar and set aside.

Combine egg whites, cream of tartar, salt, and vanilla extract in the bowl of a  mixer. Beat at medium speed until egg whites hold soft peaks. Gradually add 1 cup sugar, a few tablespoons at a time, beating continuously until stiff peaks.

Preheat oven to 350 degrees. Line with parchment paper or grease and flour two large baking sheets. Trace four circles in flour, each 6 inches in diameter. Spread a thin layer of meringue within each circle. Sprinkle one layer with sliced almonds.

Bake meringue layers at 325 degrees for 10 minutes. Reduce oven to 300 degrees and bake meringue until puffed and cracked, about 50 minutes. Turn the oven off and prop the door open. Let cool in oven for 30 minutes until room temperature.

Drain sweetened berries. Combine with about 2 1/3 cups of whipped cream. Working as quickly as possible to prevent meringue from softening, sandwich layers with whipped cream mixture. Place the almond studded layer on top. Place in the freezer for 2-3 hours, or until cake is frozen.

Spread the remaining whipped cream around sides. Place again in the freezer. When sides are frozen, the torte can be wrapped for freezer storage for up to 6 weeks.


Yum

1 24 25 26 27 28 34