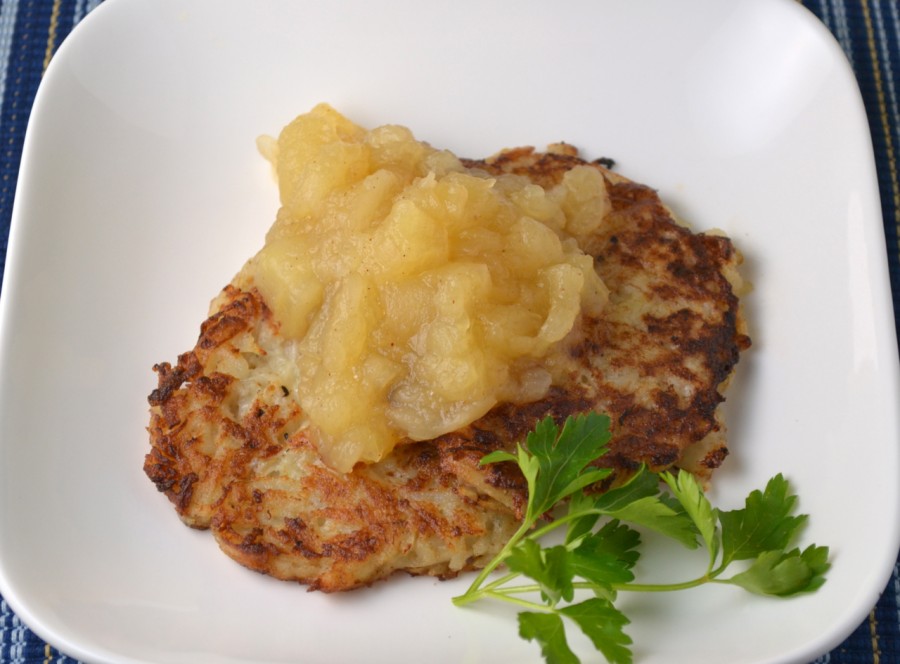
Potato Pancakes with Honey Crisp Apple Sauce
Before you discard this post because you don’t celebrate Hanukkah or understand why potato pancakes/latkes are so tasty, let me assure you that you don’t have to be religious to enjoy this simple (and vegetarian) side dish. I have an affinity for the sweet and savory combination of shredded potato and onion with cinnamon apple sauce. This may have started when I was was a child, with our attempts to celebrate Hanukkah by re-creating this traditional dish. It’s beyond that now. These pancakes actually follow the basic no-fail culinary combination of sweet, salt, fat, and acid – practically guaranteeing its tastiness.
This basic recipe was adapted from “The James Beard Cookbook,” by James Beard. It’s strange that James Beard published a potato pancake recipe but my grandmother did not. With her Jewish background, it seems only natural that she would have a recipe for such a common dish. But it appears she made Spinach Pancakes more frequently than potato pancakes (based on “The Art of Good Cooking”). Nonetheless, this is a great base recipe, and paired with my homemade Honeycrisp apple sauce, it’s even better. Simply grate potato and onion into a strainer and squeeze out some of the liquid. This is then mixed with egg, a small amount of bread crumbs (feel free to use gluten free!), and salt. Saute in butter (or blended butter and oil) and you have a crispy pancake that includes the salt and fat required for the dish.
The apple sauce makes up the acid and sweet components of the culinary combo. Just boil honey crisp apples (I like the juiciness and sweet honey flavor of honey crisps) in a little water with a tablespoon of honey, a tablespoon of sugar, and a touch cinnamon. Finish with lemon juice (for the acid and to help keep the color). You will have a delicious apple sauce and as you can see here, I almost prefer equal parts apple sauce and pancake. Each bite should have a good amount of both. Sour cream can also be added but I’ve never found it necessary. Whether you celebrate Hanukkah or not, these Potato Pancakes with Honey Crisp Apple Sauce make a satisfying lunch or snack.
Ingredients:
4 medium potatoes
1 1/2 medium onions
1 egg
2 tablespoons dry bread crumbs (or gluten-free bread crumbs)
1 teaspoon salt
1/2 teaspoon ground pepper
Butter
Honey Crisp Apple Sauce
6 honey crisp apples
1 cup water
1 tablespoon honey
1 tablespoon granulated sugar
1/4 teaspoon ground cinnamon
2 tablespoons lemon juice
Wash and peel the potatoes. Grate with a grater and drain off all the liquid that collects in the bowl. Grate the onion into the potato and mix in the egg, breadcrumbs, salt, and pepper. Heat two tablespoons of butter in a large skillet. Put in four large spoonfuls of the mixture. Pat down slightly to create pancakes, about 2 inches wide. Cook gently until brown on the bottom, turn, and brown on the other side. Add more fat and continue cooking until all of the mixture is used.
To make the Honey Crisp Apple Sauce:
Peel and core the apples. Halve lemon and rub on apple halves to prevent browning. Dice apples. Place apples in a large pot with 1 cup water. Bring to a boil. Stir in honey and sugar. Simmer for 30 minutes or until apples are soft and create a sauce. Stir in cinnamon and lemon juice.
Serve pancakes with large spoonfuls of apple sauce.
Serves 5-6.